How to Build and Run a Vapor Project on Native Open-Source MacOS Nimble Editor
Vapor is an open-source Swift web framework built for developers interested in creating web apps and Restful APIs just to mention a few. Vapor's simplicity and flexibility make it simple to create a new project on the go thanks to its handy command line tool.
The first part of this tutorial will take you step by step through creating a new Vapor project, and building and running it through the Native Open-Source MacOS Nimble Editor.
Lastly, In the second part of this tutorial, we will also look at learning and creating our routes.
Requirements:
You'll need the following given below for this tutorial:
Nimble Code Editor - Download Here.
Swift 5.6 or later - Including command line. Vapor-4 requires this.
MacOS - We choose this operating system for this tutorial to create a Vapor project.
Homebrew - It's needed for installing the Vapor Toolbox. Run the installation command in this link if you are yet to install Homebrew.
Installation
After downloading and installing the Nimble editor from the aforementioned link, run the swift --version command on your computer to verify that you have the most recent swift version installed:

Let's install the Vapor Toolbox using Homebrew as previously indicated before we can create our first Vapor project.
The Vapor Toolbox is a special CLI tool that comprises handy utilities that we can use to create new Vapor projects. Though it's not required for using Vapor, it automatically helps to install all the dependencies that are required for vapor to run.
Run the following command in the terminal to install Vapor:brew install vapor
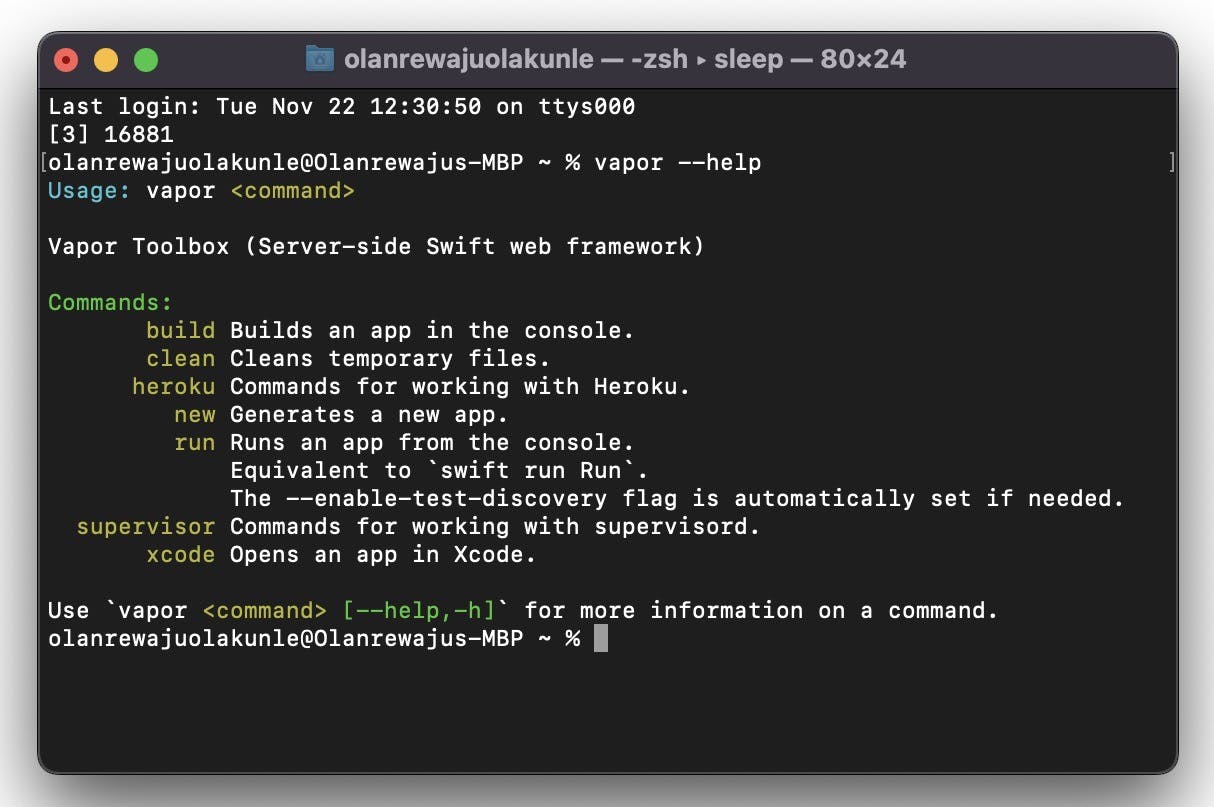
After the complete installation of Vapor, enter the vapor --help command on the terminal to double-check that it's correctly installed on your machine.
And if it's correctly installed, the output of the vapor --help command would be as follows:
Create your first Vapor project
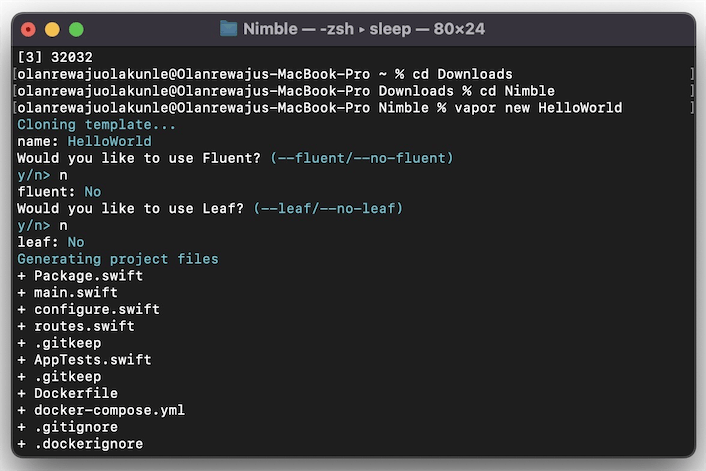
To create a new Vapor project from a template on your machine, enter into the terminal with the Vapor Toolbox's new project command:
vapor new [ProjectName]
Vapor will by default ask you if you want to use Fluent and/or Leaf. We recommend you enter an n for both questions. It would also ask and give you options on the type of database to work with:
Alternatively, run the command with the -n option to create a Vapor project:
vapor new [ProjectName] -n
This will create a new folder in the current directory containing the project. The -n" flag added in the above method gives you a fundamental template to build on. It also saves you the stress of answering a no to the respective questions and does it automatically for you.
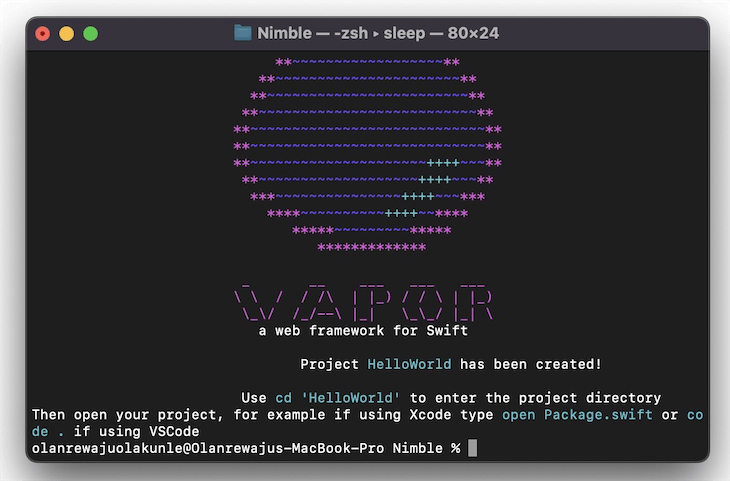
You should see the resemblance of the screenshot below in your terminal if your project was created successfully:
Open the created project with the Nimble Editor
Open your newly created project folder with Nimble and click the large rectangular "project launch selector button" (found to the right of the Play and Stop buttons at the upper left of the window). Check that Mac is chosen as the launch runtime. Press the play button to build and run your project:

Alternatively, you can also use the Command + R keyboard shortcut to run your project.
While your project is building, the required dependencies needed for the vapor project to successfully work are automatically downloaded and saved in the generated Package.resolved file:
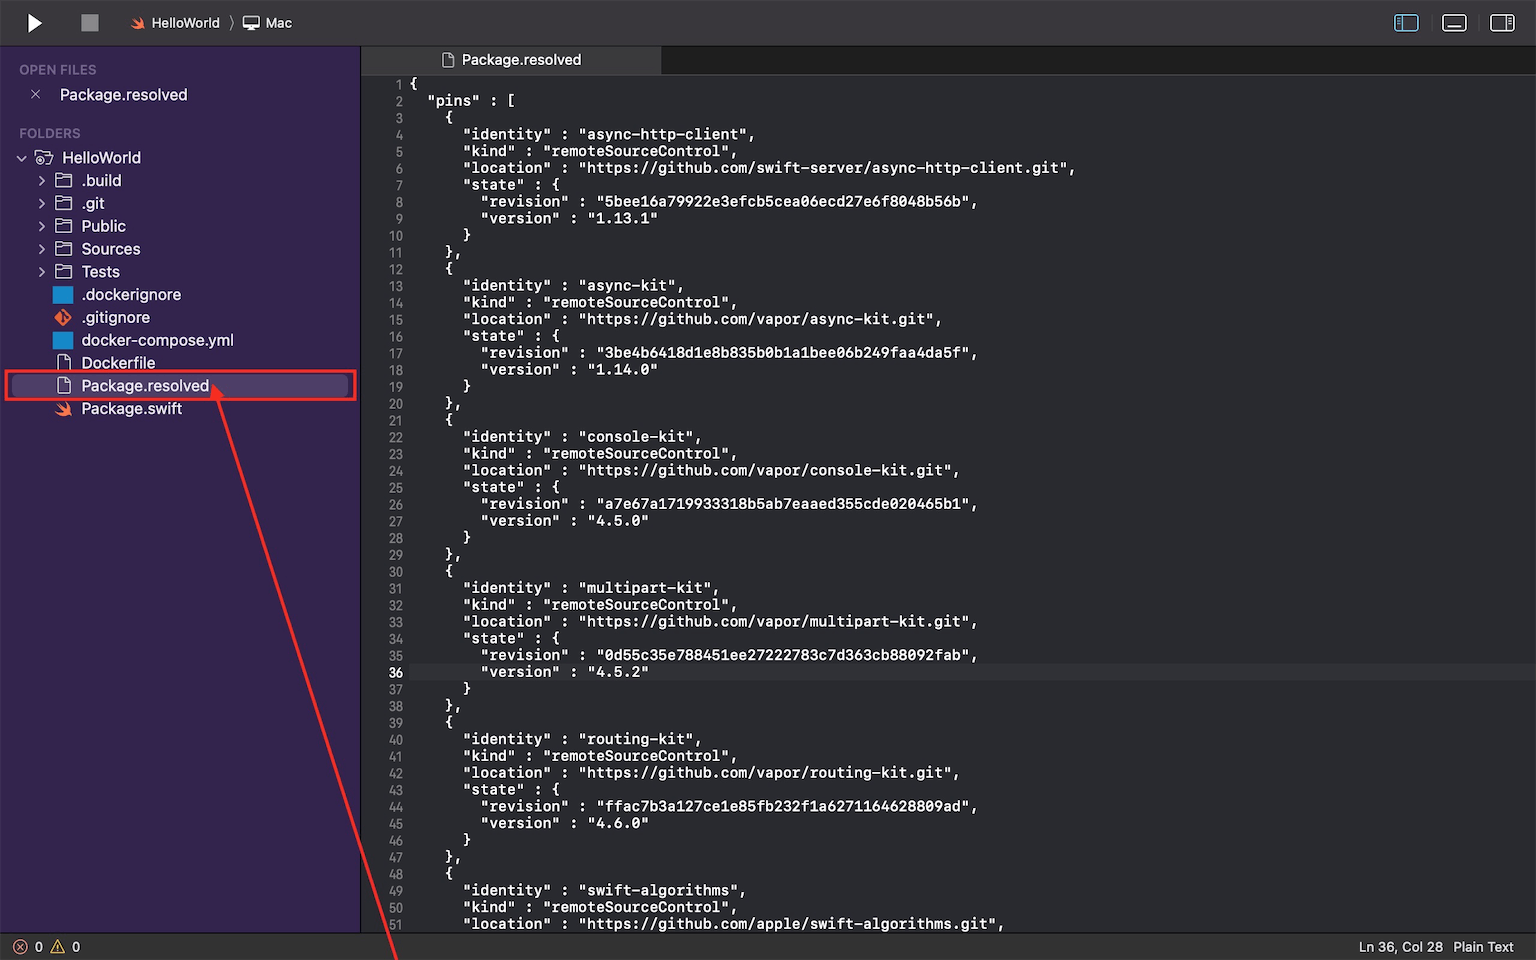
Please note that it will take some time to fetch and resolve the dependencies the first time you run your project.
Visit localhost:8080/hello and http://127.0.0.1:8080 in any browser of your choice while your project is running to see the responses shown in the screenshots below:
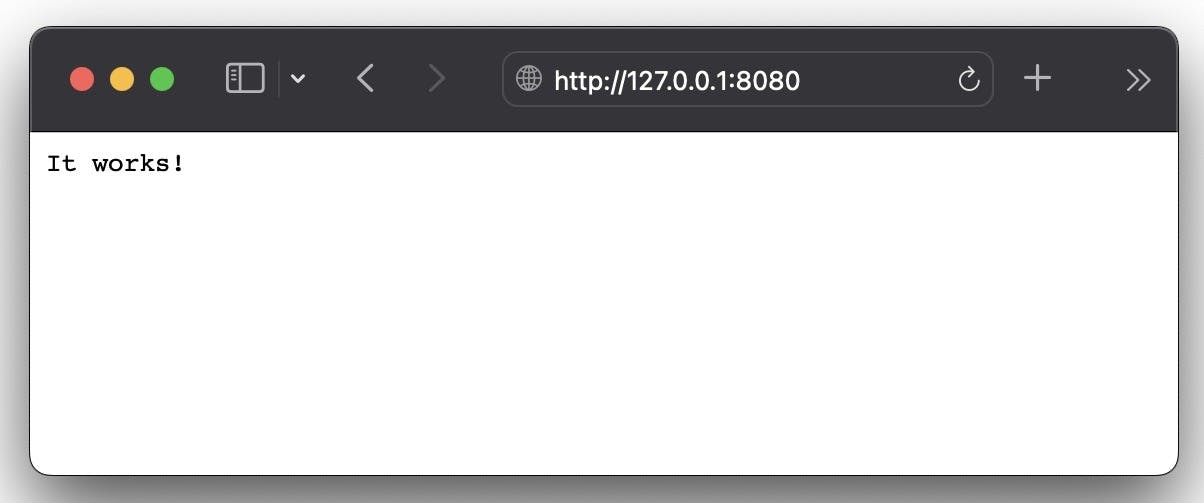
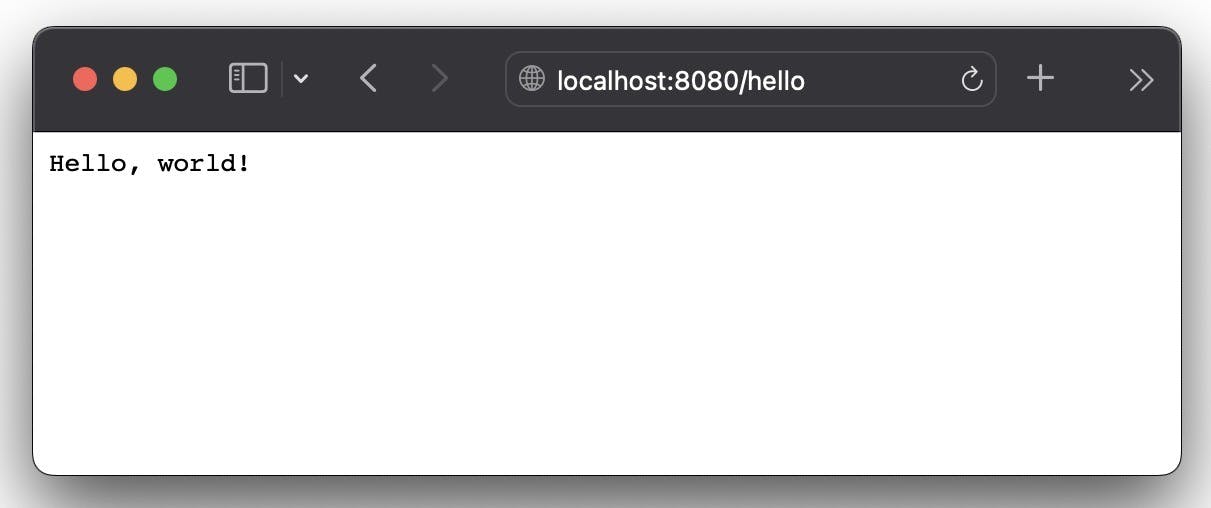
You should also be able to see each request you make to the server in your console as your project is running:

Creating our own GET and Post Routes
Now that we have successfully created our first app, let's delete the contents in the routes.swift file of our project folder and add new routes with Vapor:
1. Creating our Get Route
Replace the content of the routes.swift file with the following code in the screenshot below:
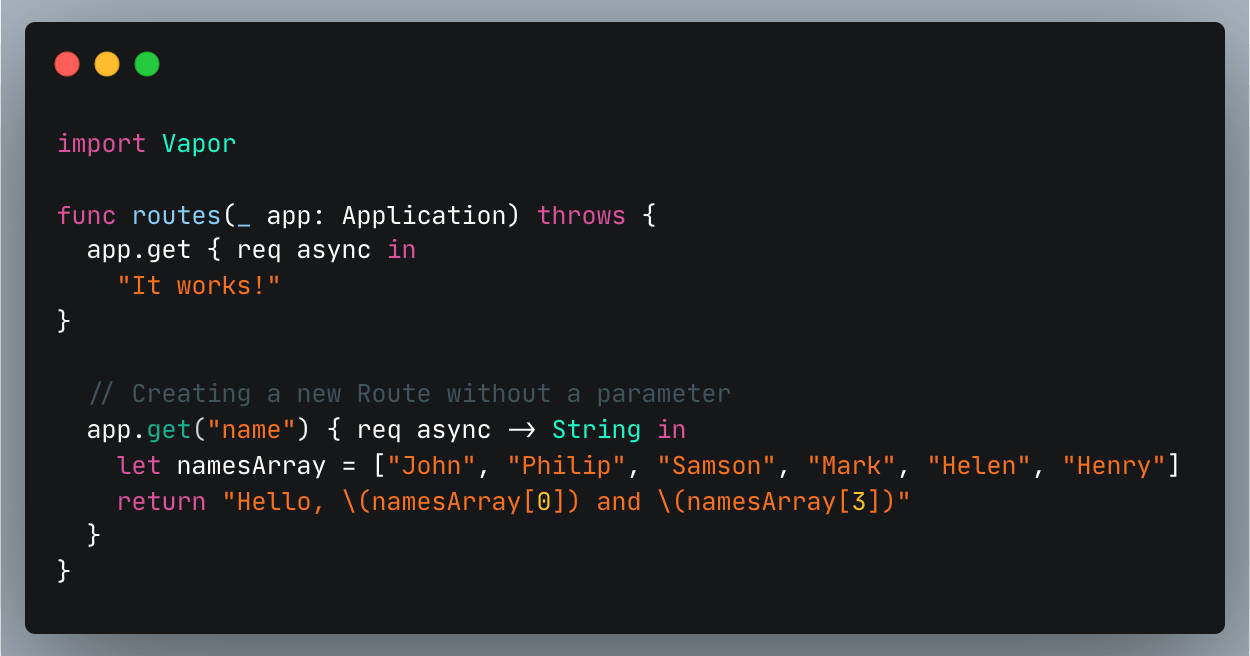
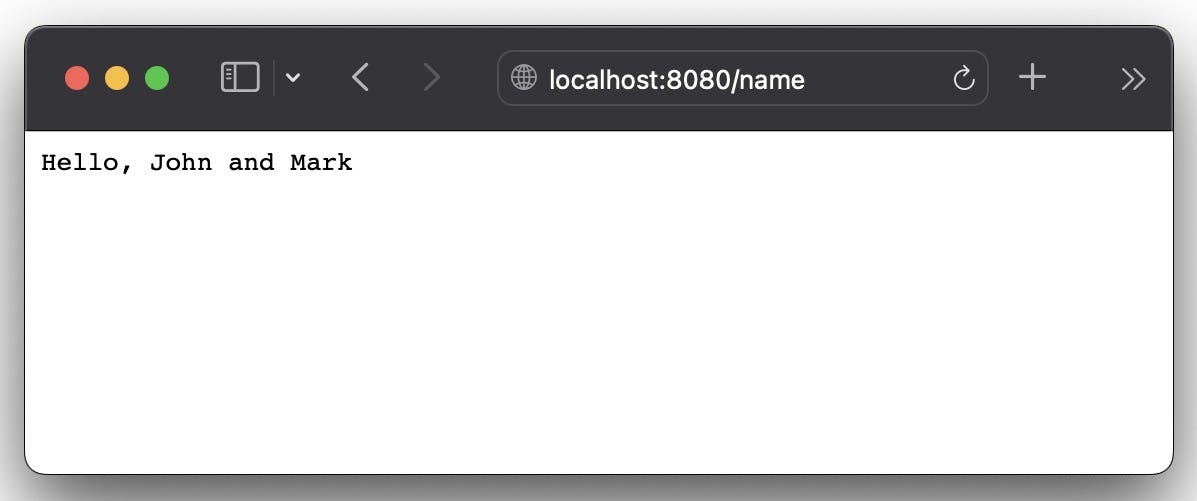
Use the play button or the build and run commands to build and run the project once again. You should see the response shown in the screenshot below when you visit http://localhost:8080/name in your preferred browser:
2. How to create a Route that takes a Parameter
When not required, it becomes redundant to always establish a new route for every response. We can use a new route as a parameter and process it to provide a response as required by the parameter. We must always include a parameter after a route in any request URL we are creating.
For instance, we use :name to create a dynamic parameter for our route. The idea here is to extract the user's name that is passed in the Request object else an error should be thrown if the name parameter can't be found. Finally, we return a string with a Hello greeting together with the extracted user's name as the main response:
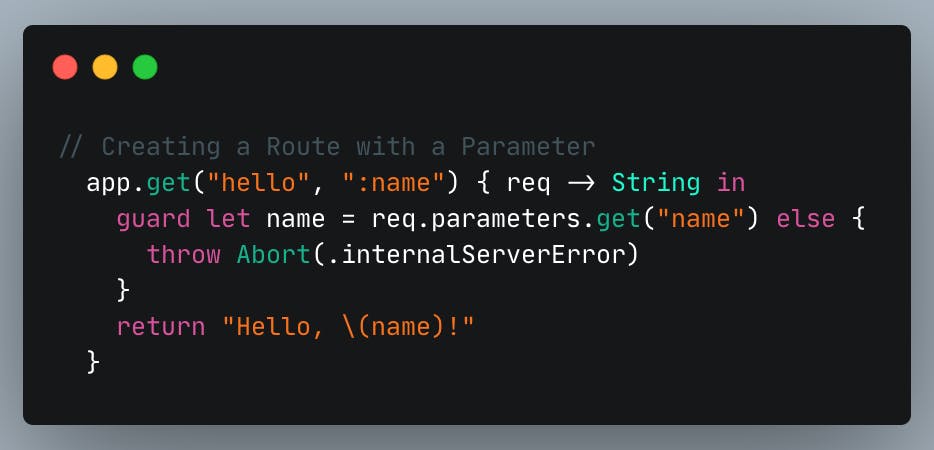
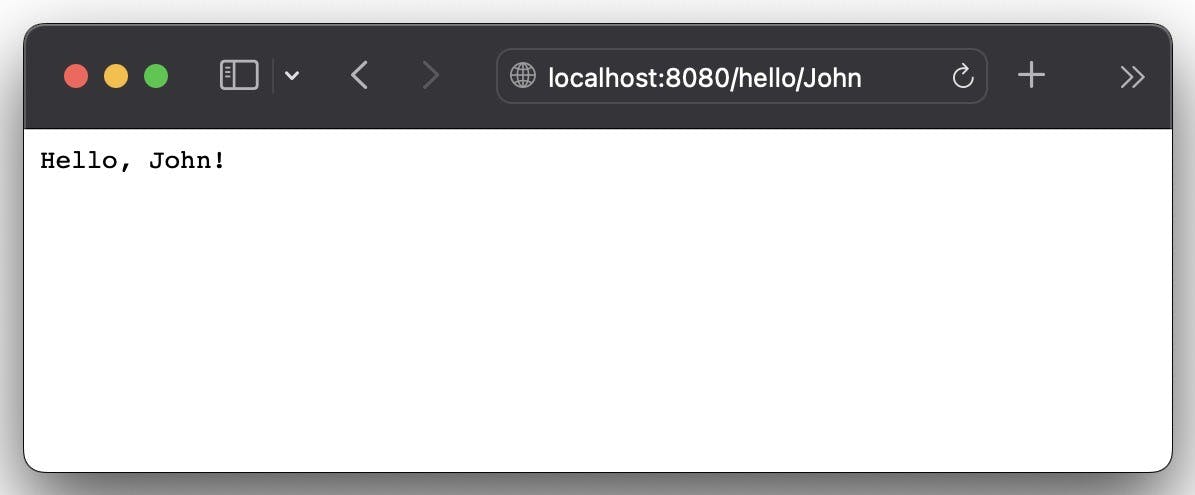
Rebuild and run the Vapor project after the above is accomplished. Use John as the parameter value example in the request URL. You should see the response shown in the screenshot below when you visit http://localhost:8080/hello/John in your preferred browser:
3. Returning JSON
We can still check out a lot more aspects of Vapor outside just creating a route with or without a parameter. It's quite an easy task to use Vapor to return JSON objects in route handlers. Most importantly, Vapor uses the Content protocol to encode a response as a JSON object. The Content protocol is a wrapper around Codable.
If we need to return a JSON object as the response of a route, we may first need to create a struct that conforms to Content protocol.
For instance, we created both DataCollection and IndividualData objects to represent the JSON API response. Also, as previously mentioned, we ensured both objects conform to the Content protocol as this will come in handy when encoding the API response json to DataCollection object:
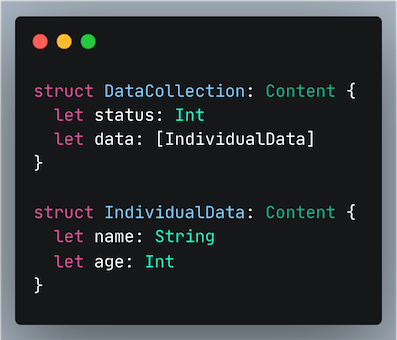
Next, We created a method that returns the DataCollection object. Finally, our "/json" endpoint now returns the data object which contains an array of different names with their respective ages:
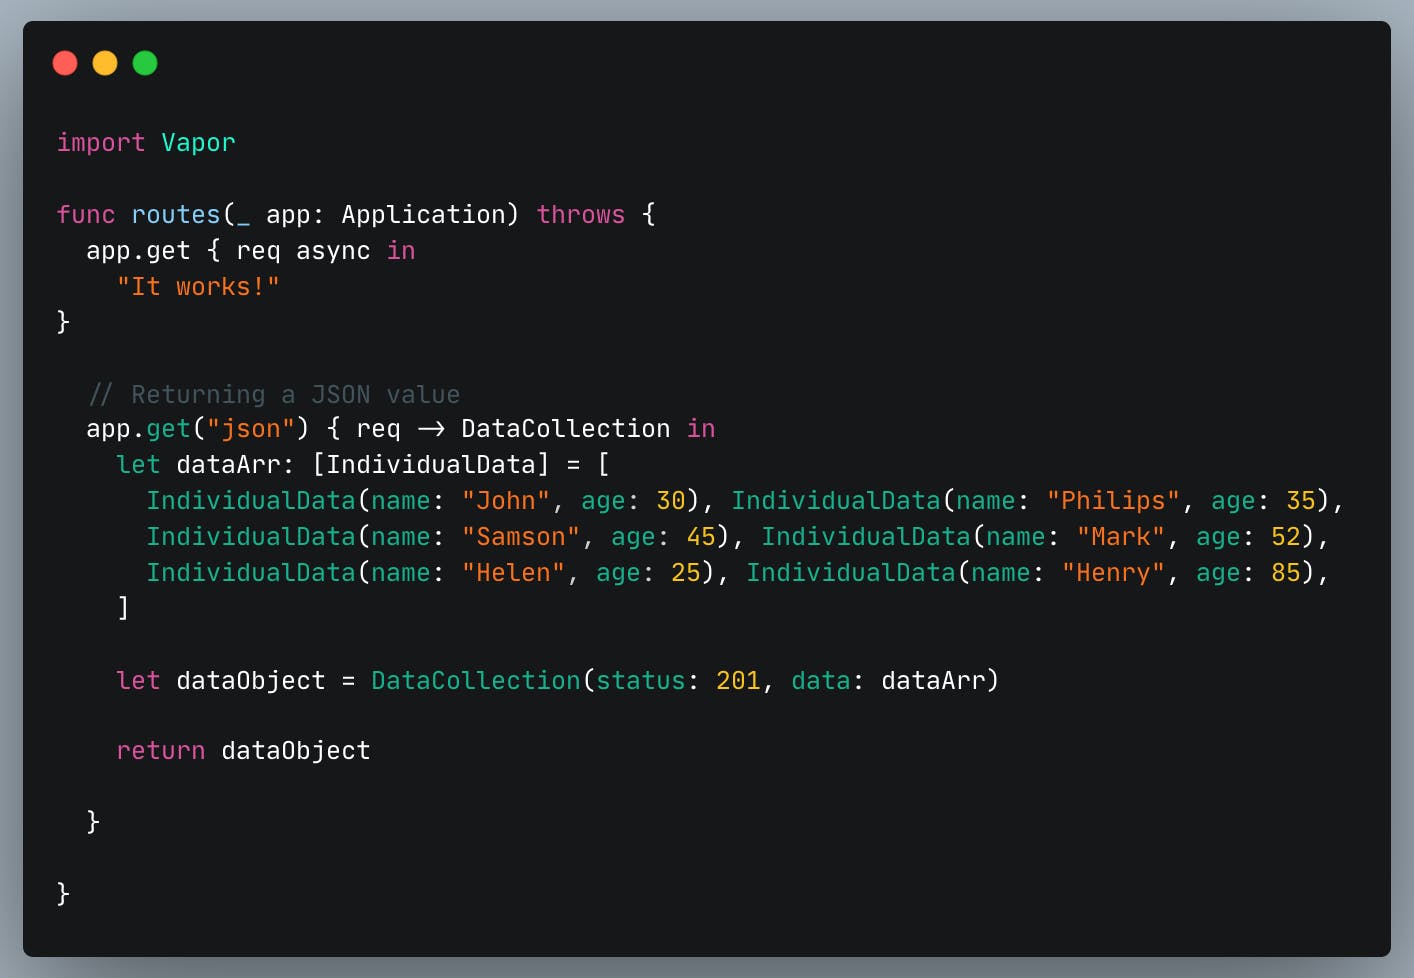
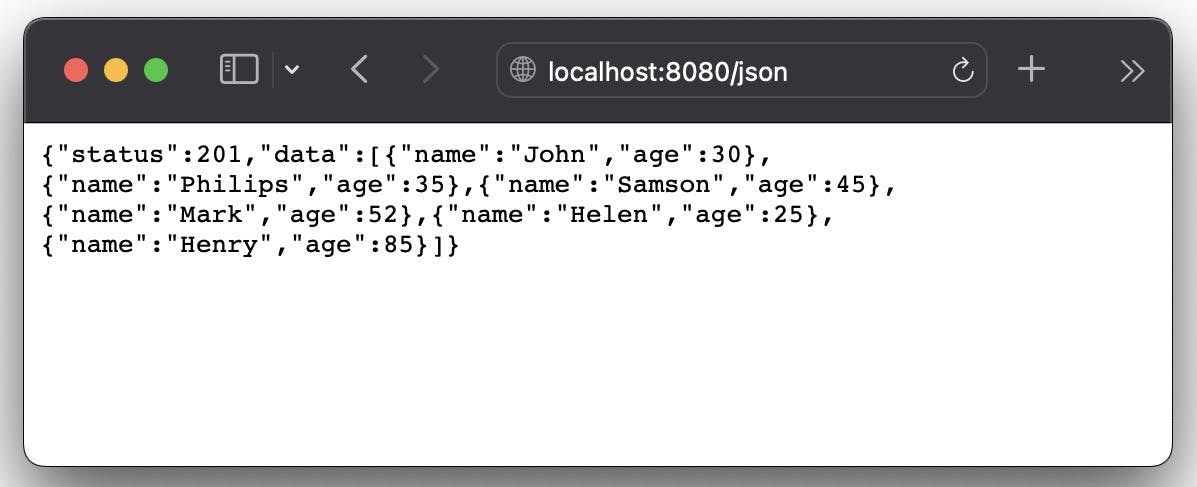
Build and run the Vapor project once more. Visit http://localhost:8080/json in your preferred browser simultaneously, and you ought to see the response displayed in the screenshot below:
4. Handling POST request
A POST request has a body that accepts an object as input. In other words, a POST method does the work of creating an object and saving it in a server database. We are going to use Postman to pass some data via a POST request.
We are going to use a client like postman to pass the request object with the gender property in our created DataKind struct object:
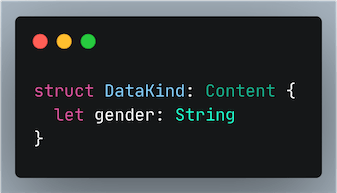
When we send a post request using Postman, this request object will be received on our server. Check the screenshot below to see the added code we used in getting the incoming request. Its processing and how we returned the DataCollection object:
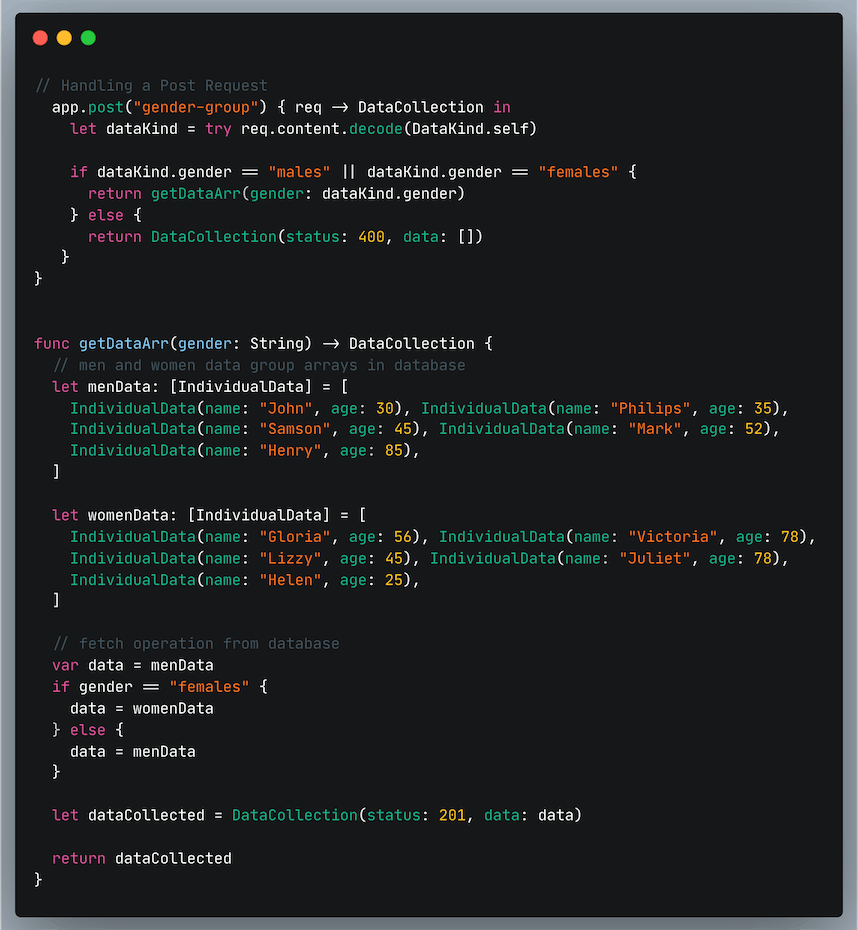
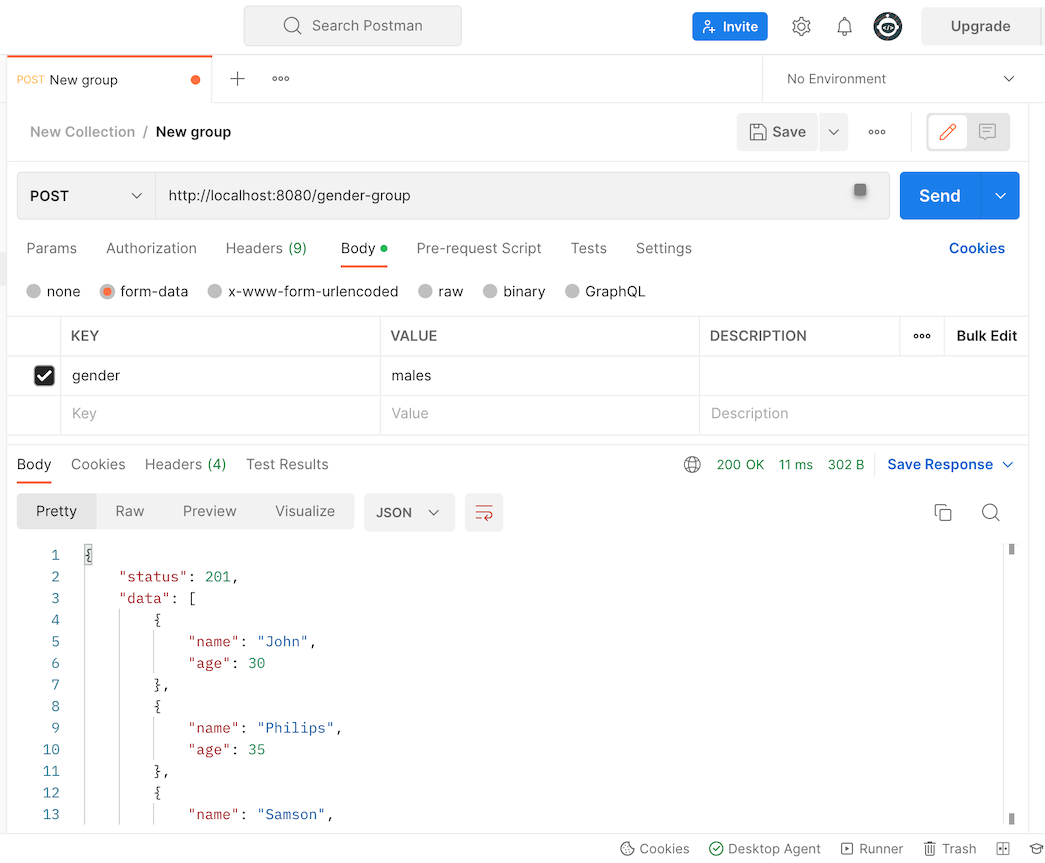
Next, build and run the Vapor project one more time, and simultaneously open Postman to set the request to be POST and the URL to http://localhost:8080/gender-group. That's not all, under the Body tab, select form-data as the type. Afterward, create a gender key and set its value to males.

You should be able to see the response in the POST's body request after pressing the Send button:
Conclusion
This tutorial gives a general overview of how to get started with Vapor and how to use the Nimble editor to create basic GET and POST routes.
The source code for this tutorial is available on GitHub: VaporDemo.
