

How to use SCADE's List Control to build Native Cross-platform Swift Apps


You can simply use the List control to display a list of scrollable items in your SCADE project. It allows you to display data in a scrollable list format. Users can then click on any list item to select it. We don't need to utilize scroll view or anything else with the List widget in the Swift cross-platform native development platform like SCADE (www.scade.io) because it is scrollable by default.
The List control is unique and will come in handy when creating cross-platform applications. We'll be using the List control in this tutorial to demonstrate how to use it in a fairly frequent scenario.
List Control's Properties
- List Element
- List Element's Background: used for controlling visual component.
- Clicked Animation Effect: very useful when changing the background when a row has been clicked.
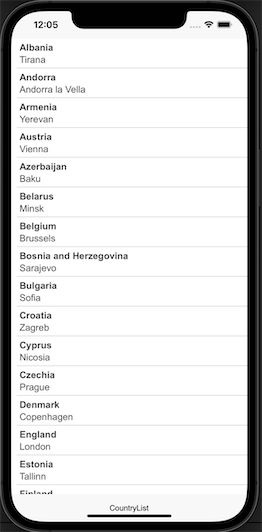
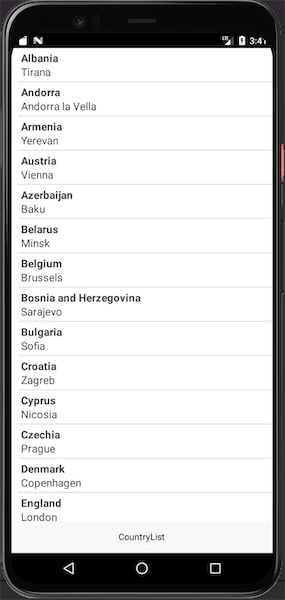
Here, we want to alphabetically display all the European countries and their respective capitals alongside them in our basic SCADE app.
You'll be able to do the following by the conclusion of this tutorial:
- correctly list data in a list control
- process row click with an event handler
- create a list element with a clicked animation effect
Getting Started
Create a new project in your SCADE IDE to work with the List control (if you don't already have one) and follow the steps below:
Step One: Add List control to the desired position on Page
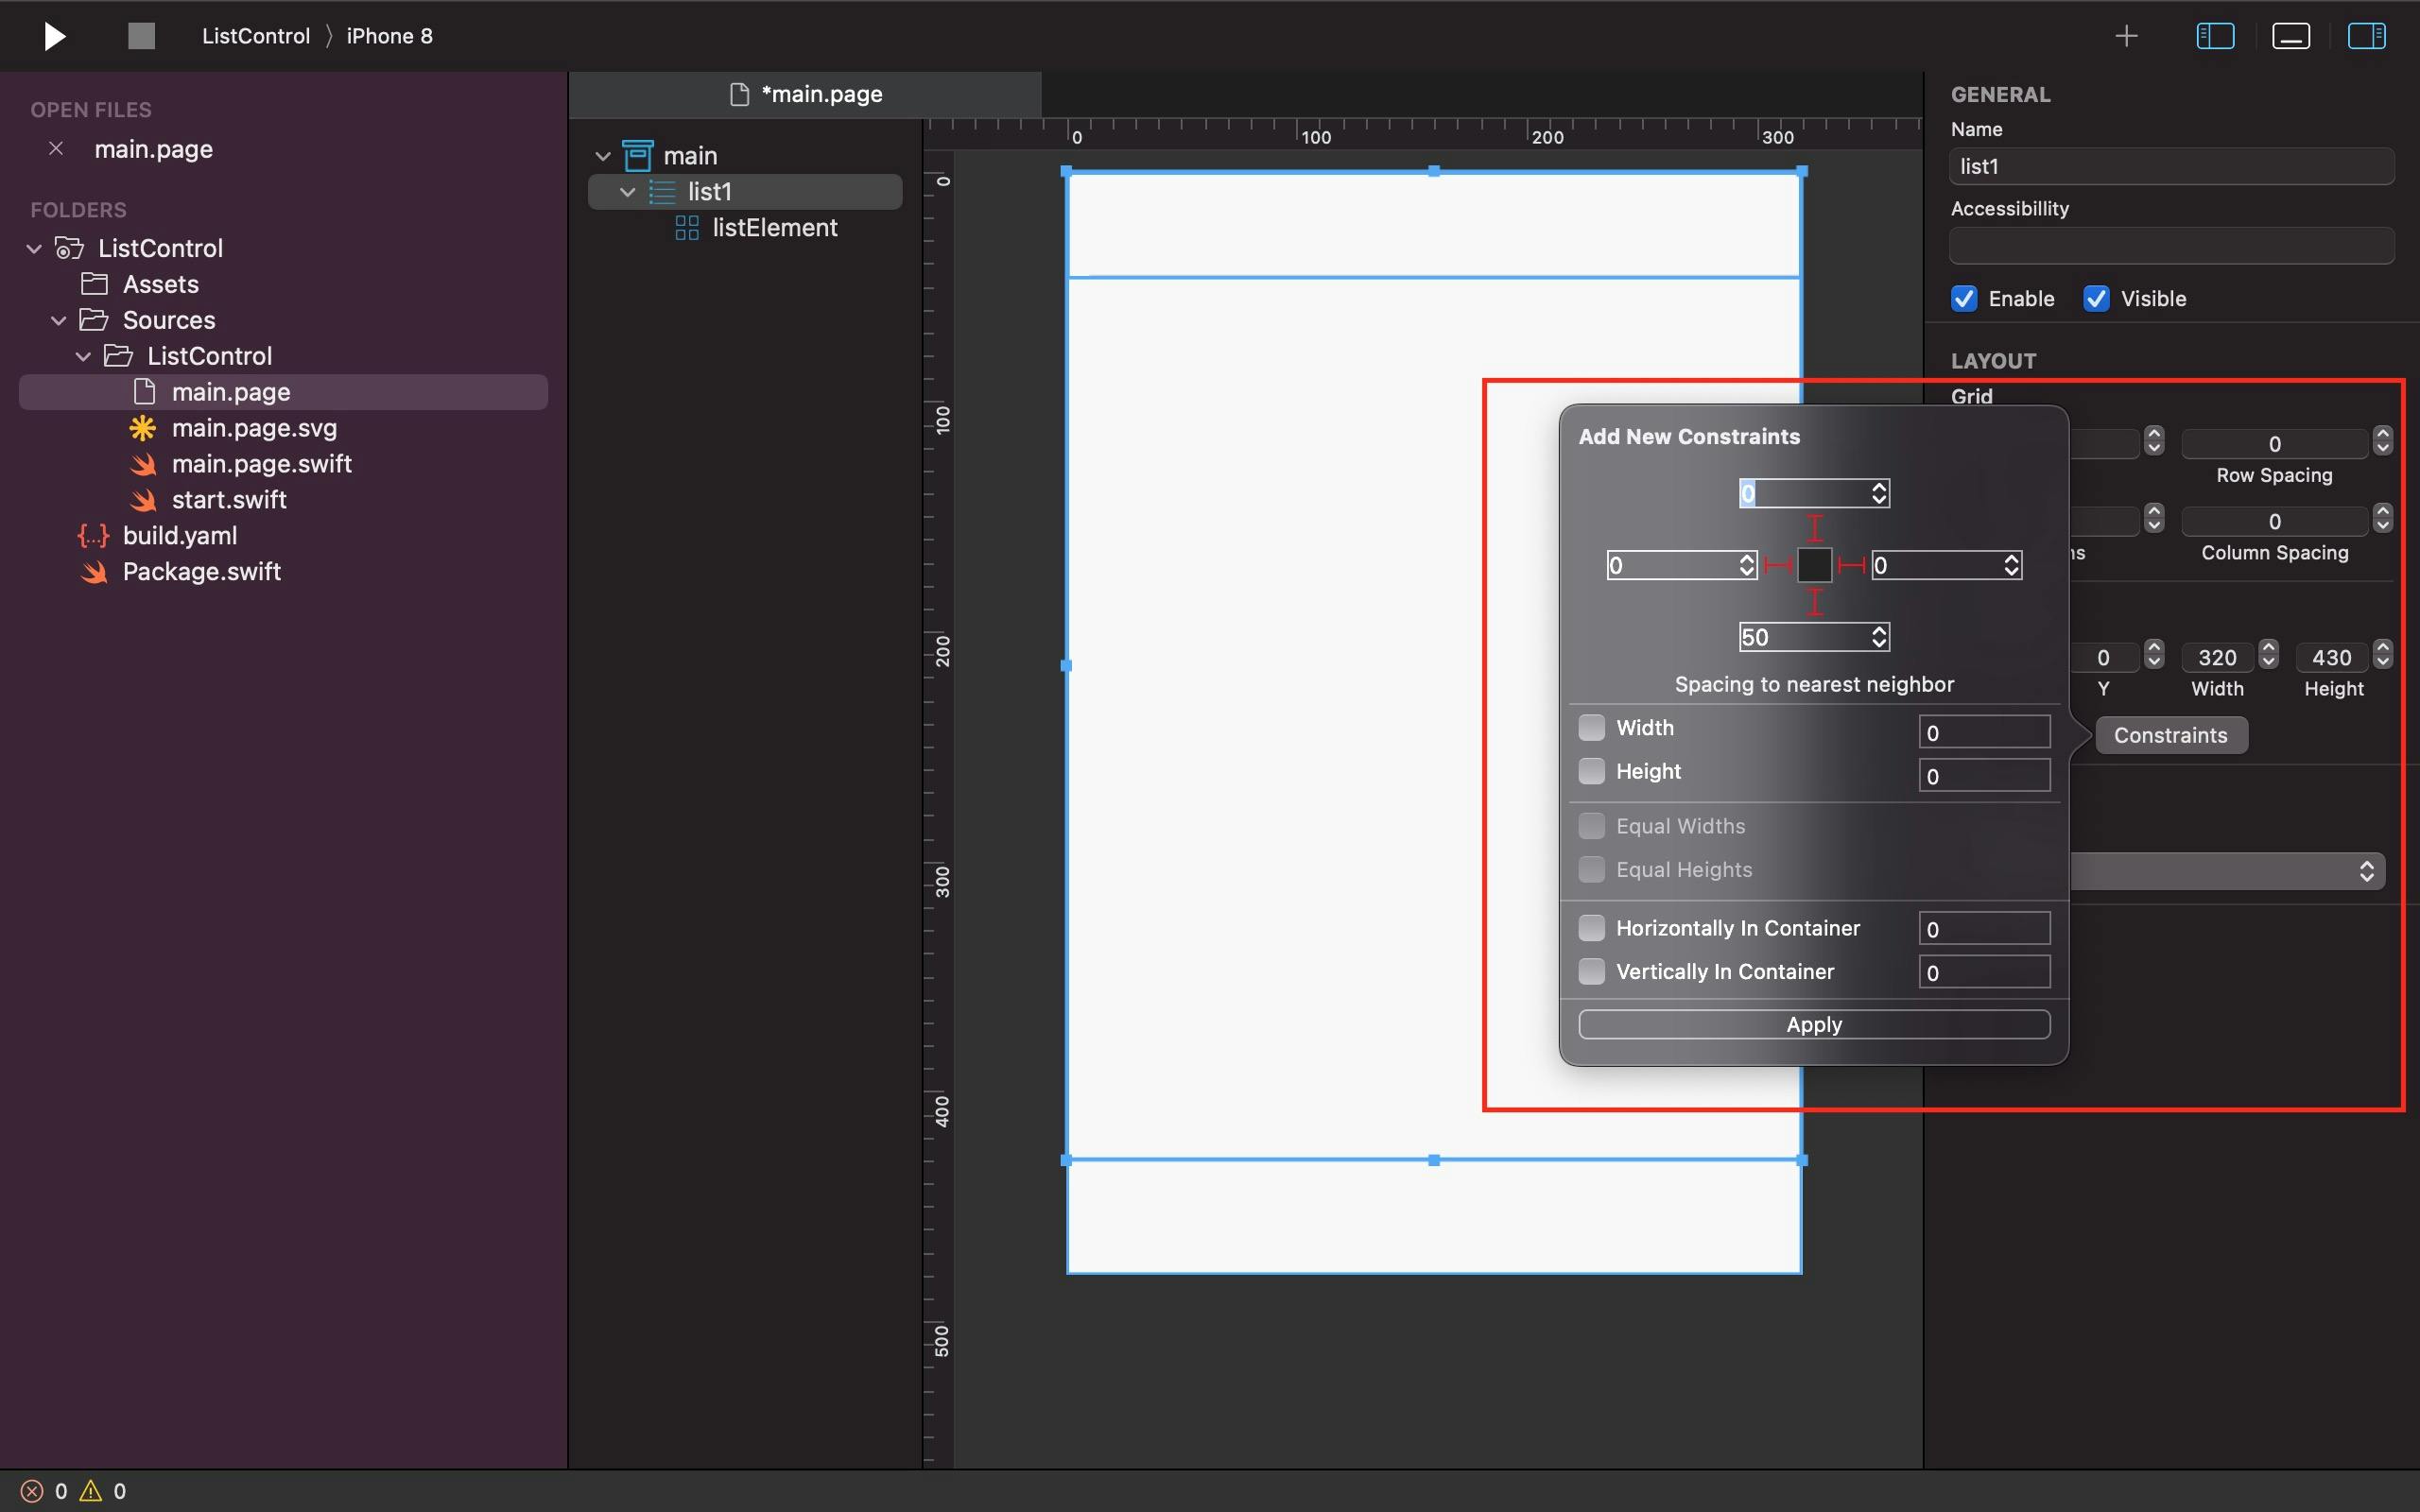
Once you've successfully dragged and dropped the List control to your preferred page of choice, use the constraints box to ensure that the List widget takes up all the available space.
See the Screenshot below as a Guide:
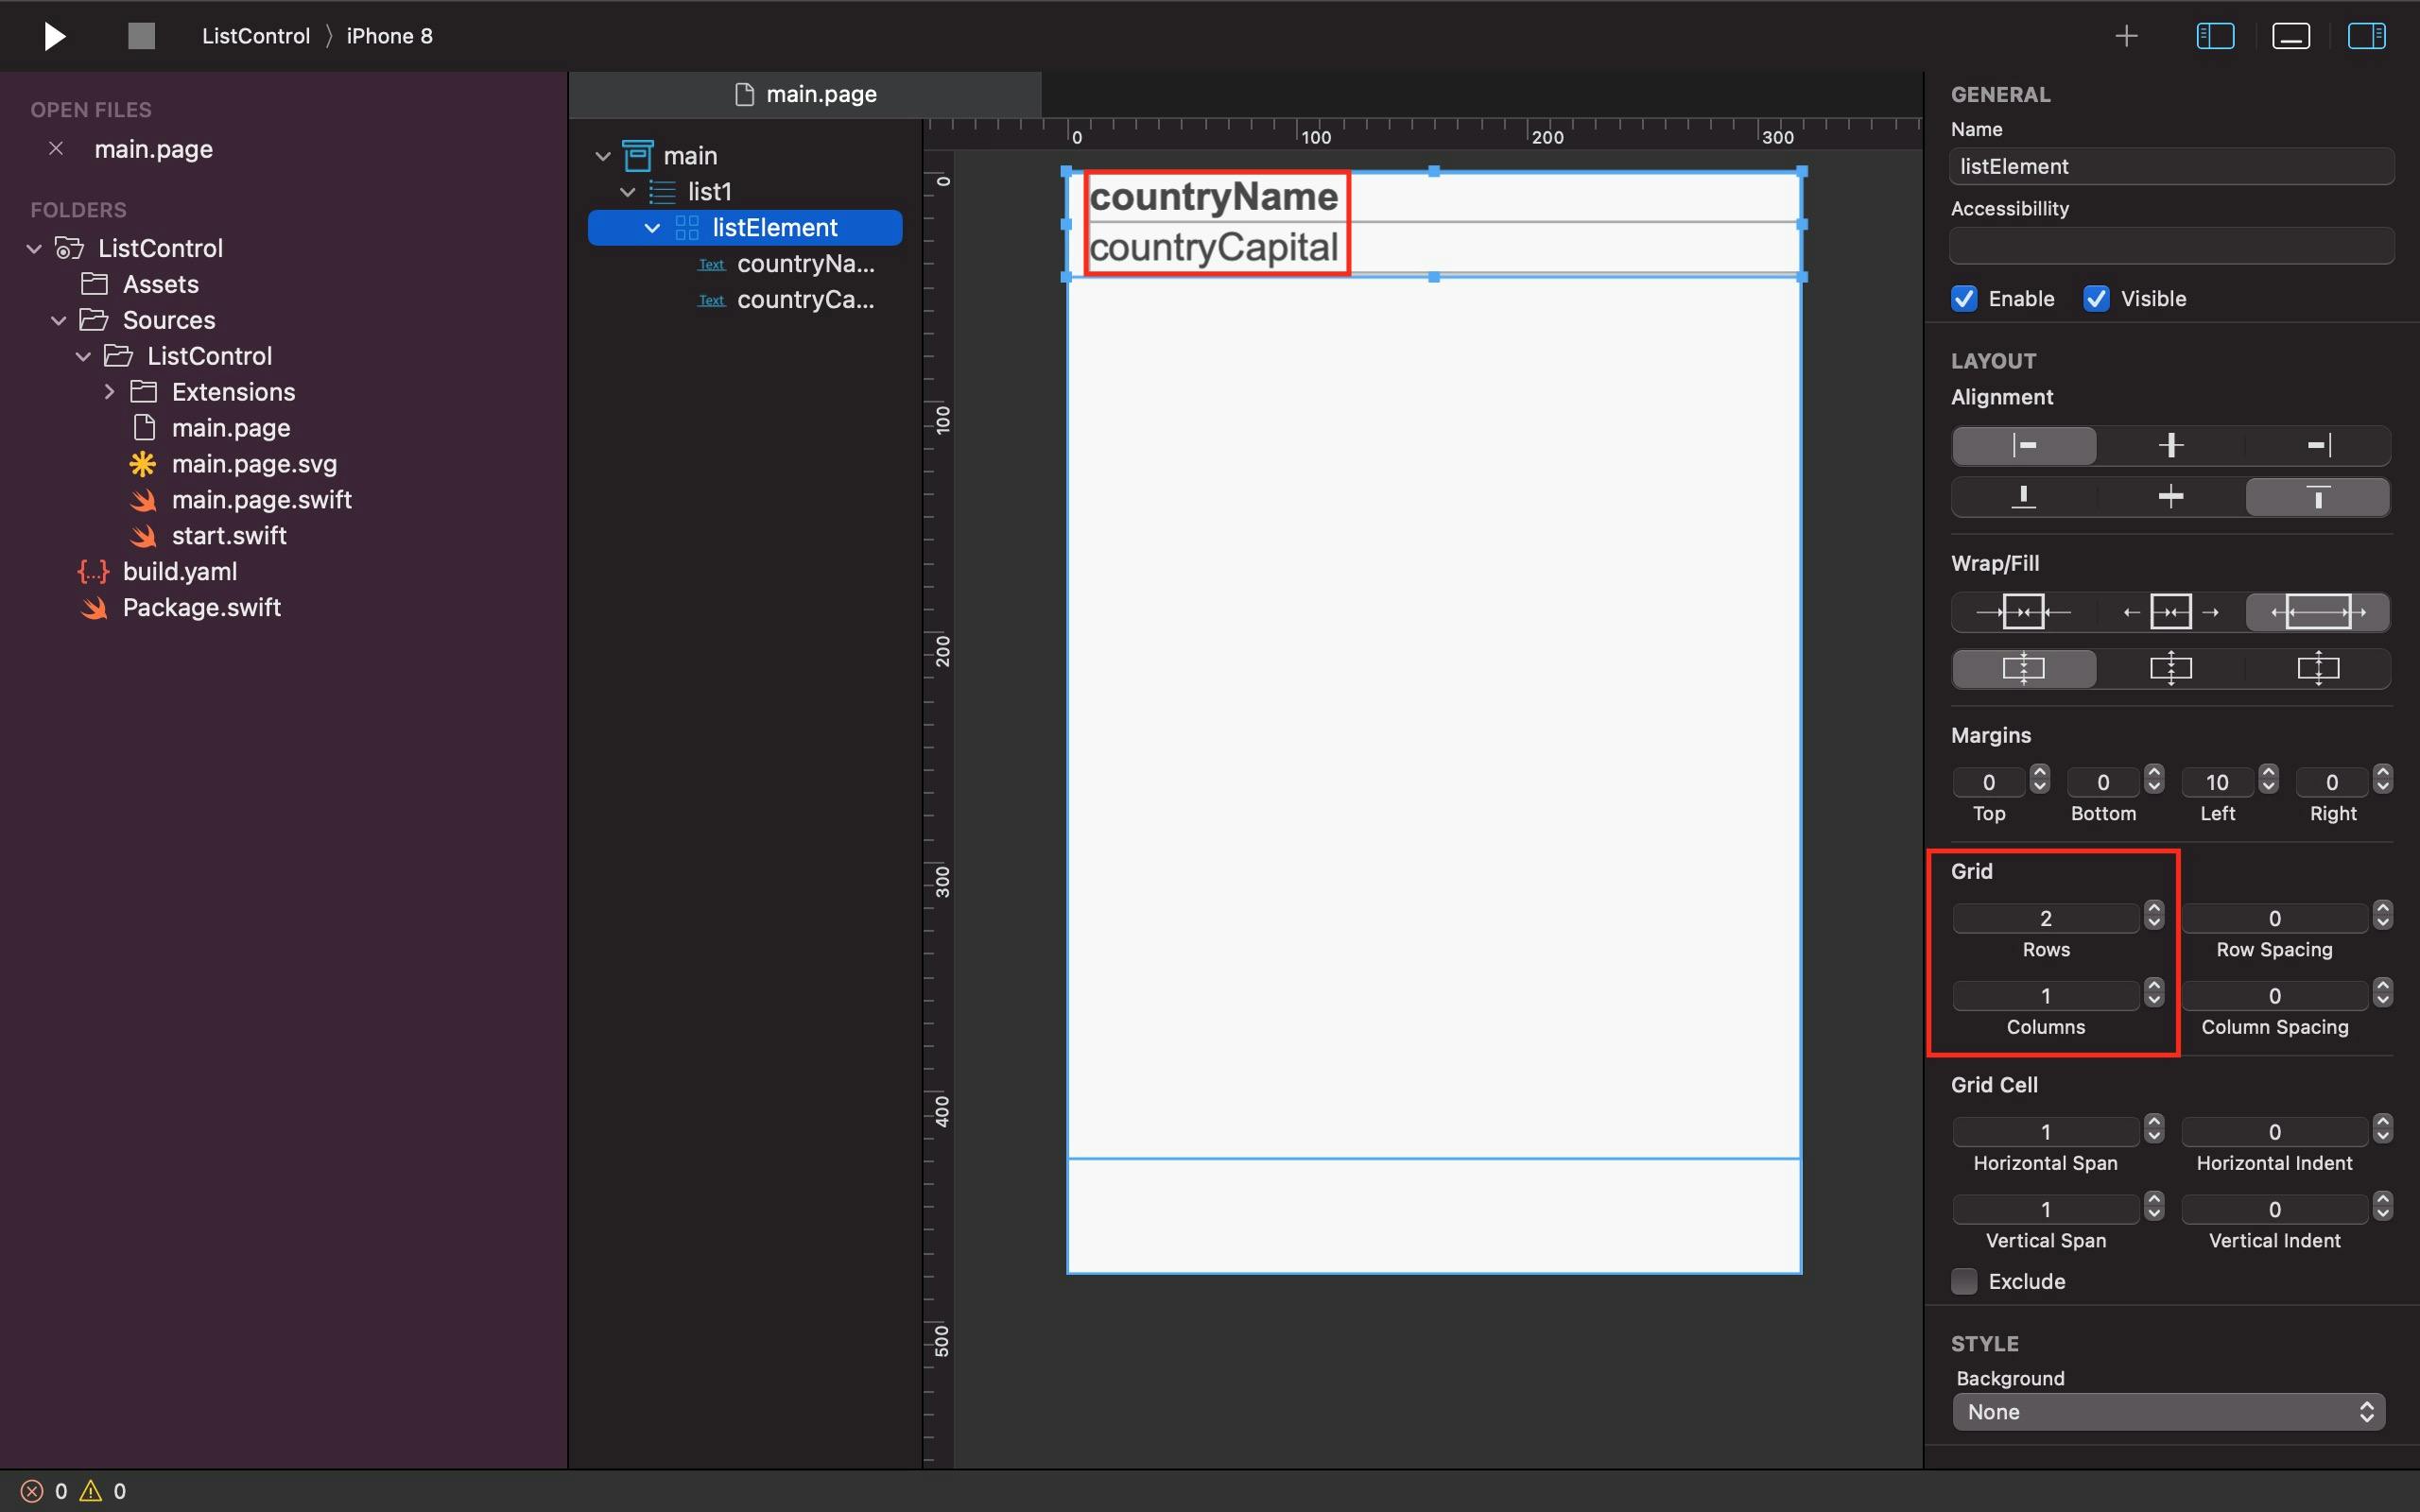
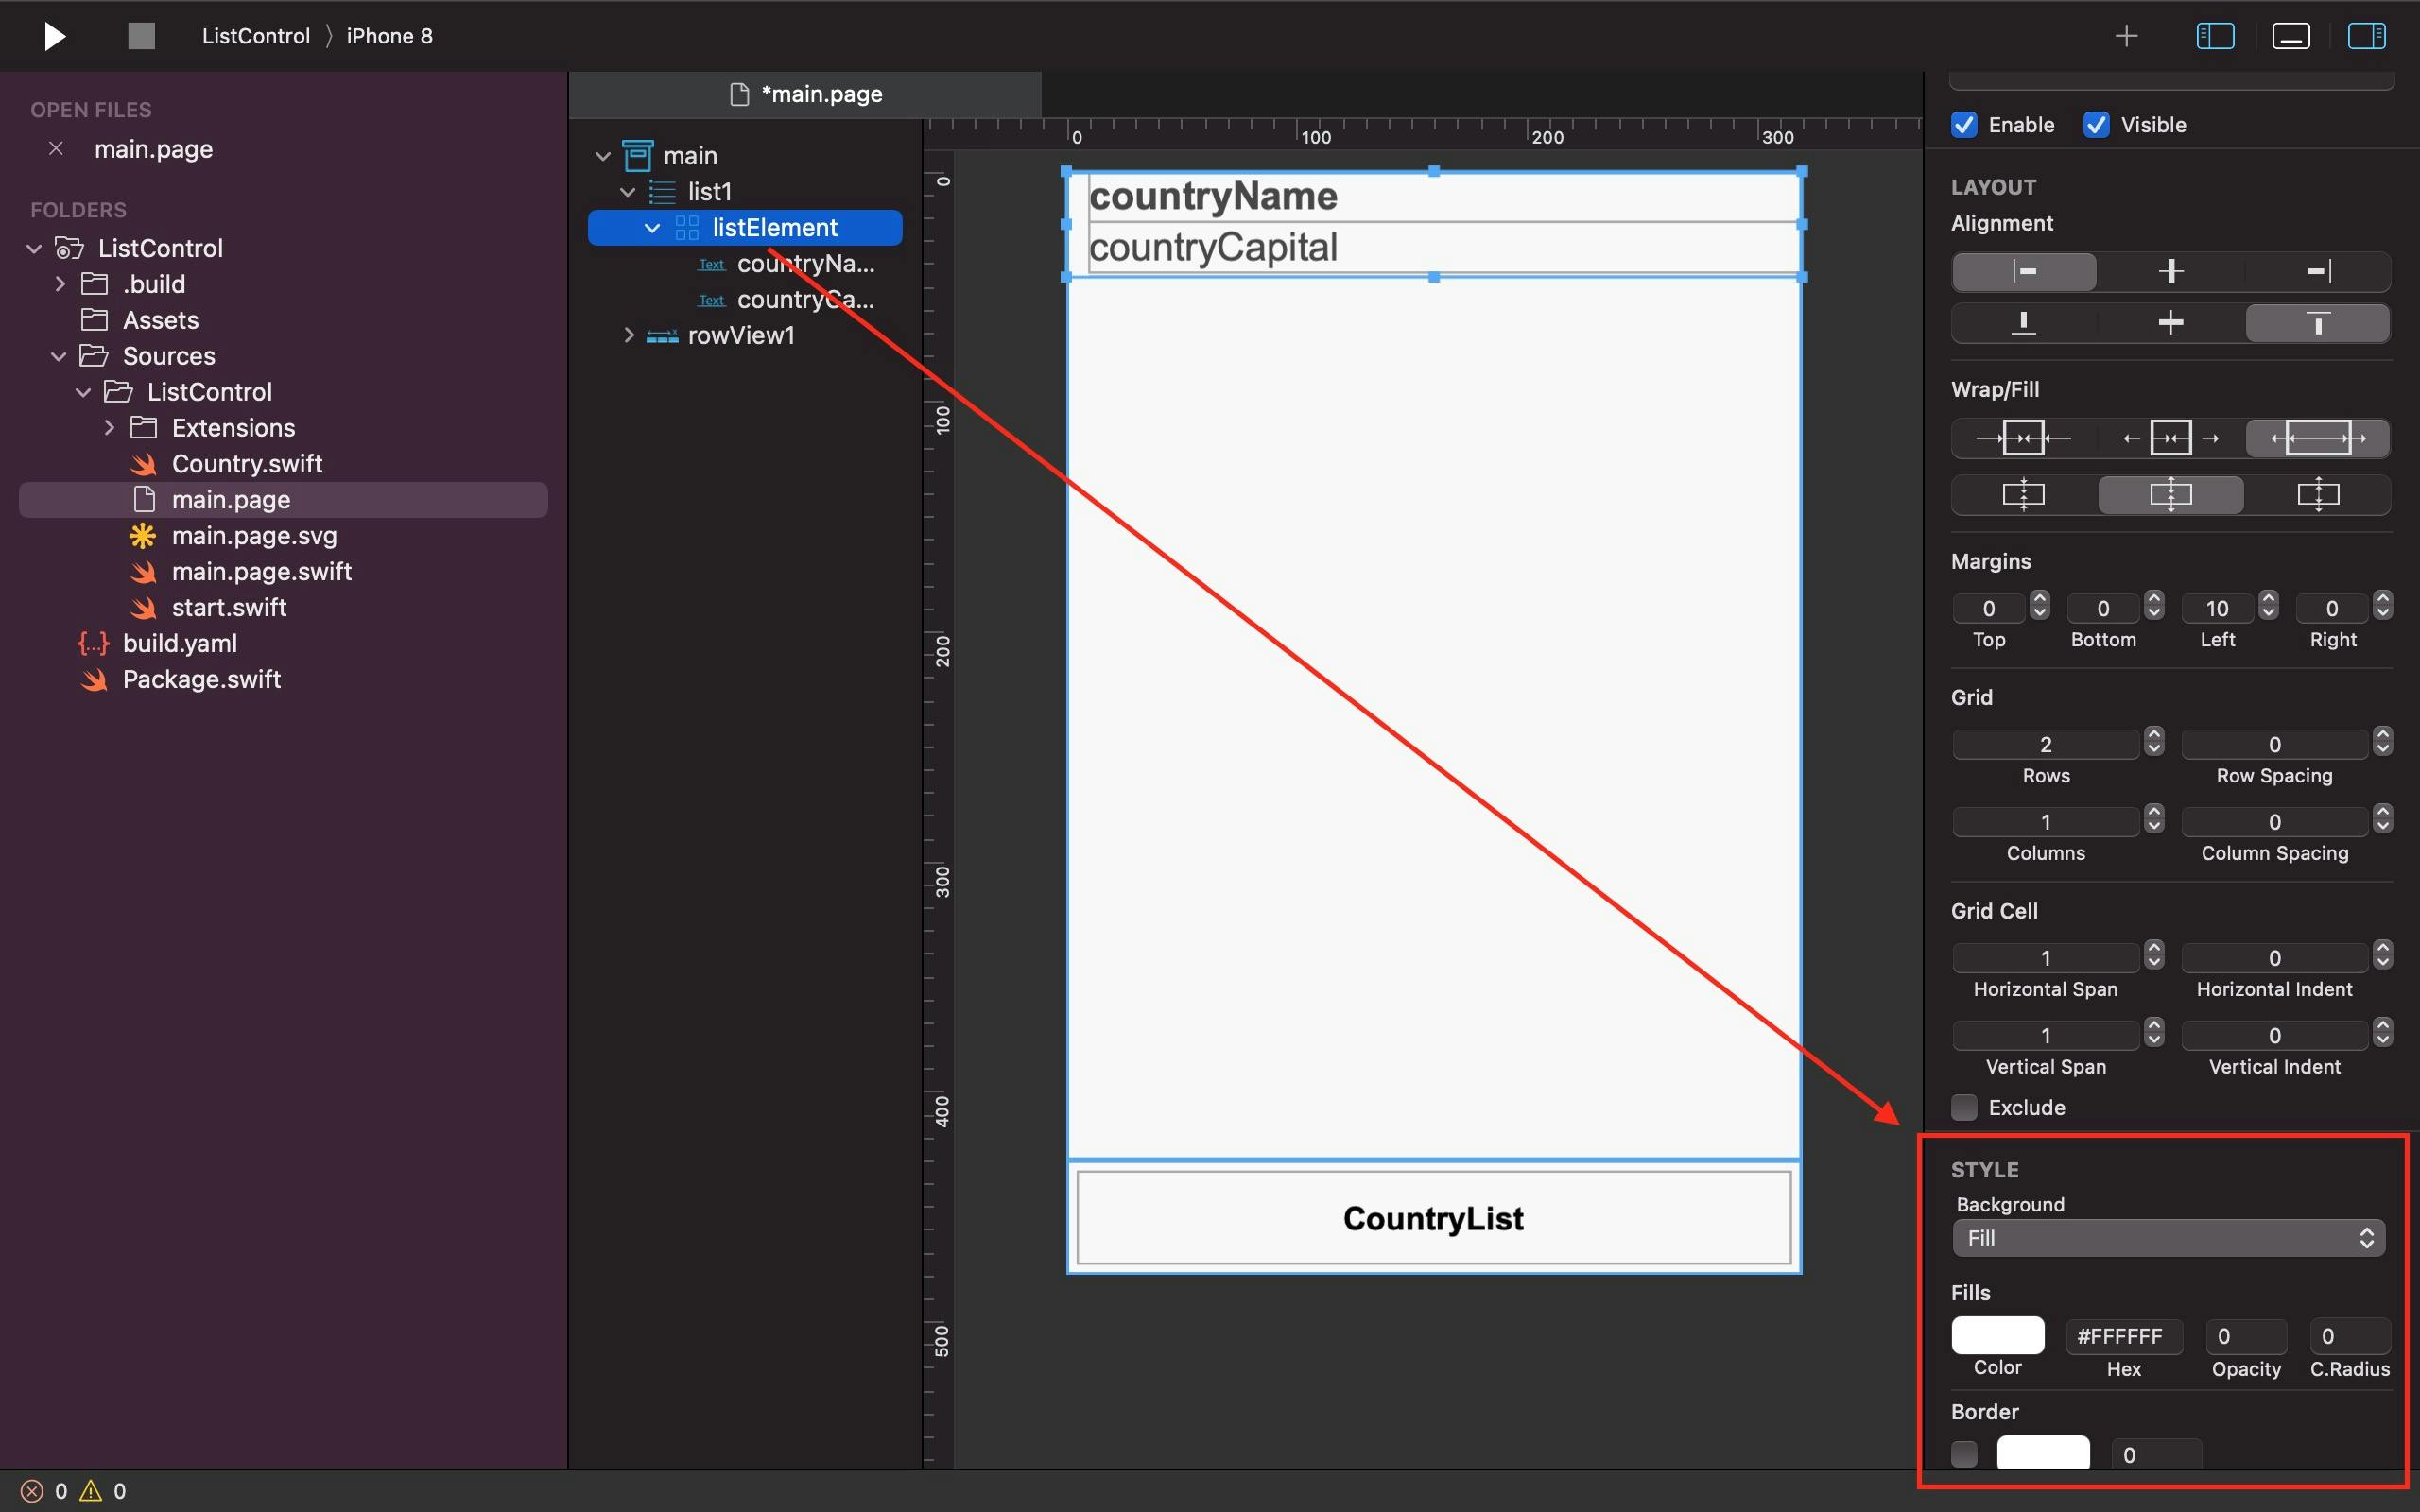
How you customize the List control's list element determines how your data is displayed. We put a Grid control within the list element in the basic SCADE app we're building in this tutorial, and we configured it to have two rows and a column to accommodate the countryName and countryCapital text labels.
See the Screenshot below as a Guide:
Step Two: Create a Data Model
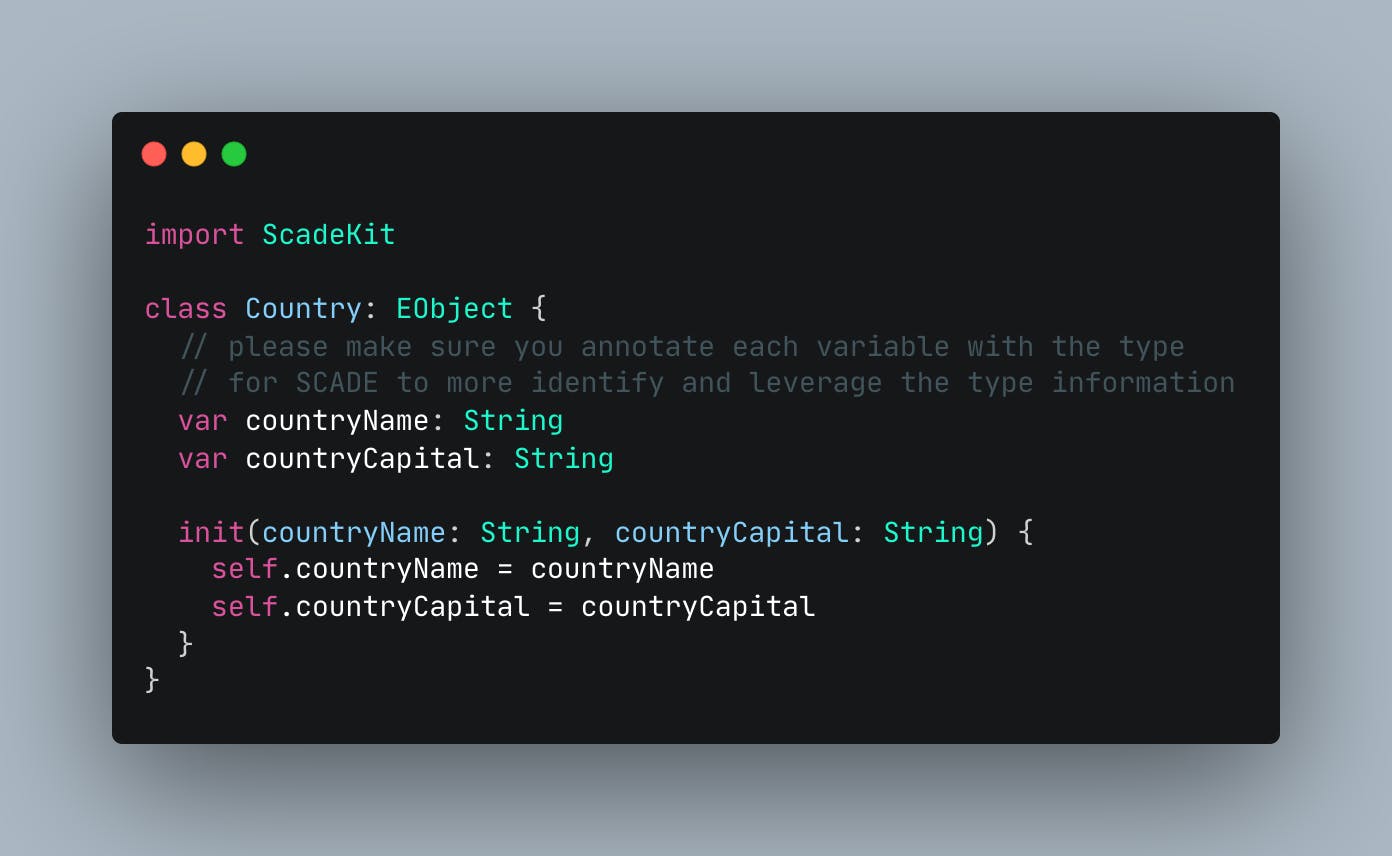
Create a new class in a new swift file in your SCADE project and define the type of data you want to bind to the List control and its properties, just as the Country class in the Country.swift file we created in this tutorial for displaying European countries and their capitals. Above all, don't forget to inherit the EObject class alongside your new class as well.
See examples below:

Step Three: Define and Bind the Data Source to Controls
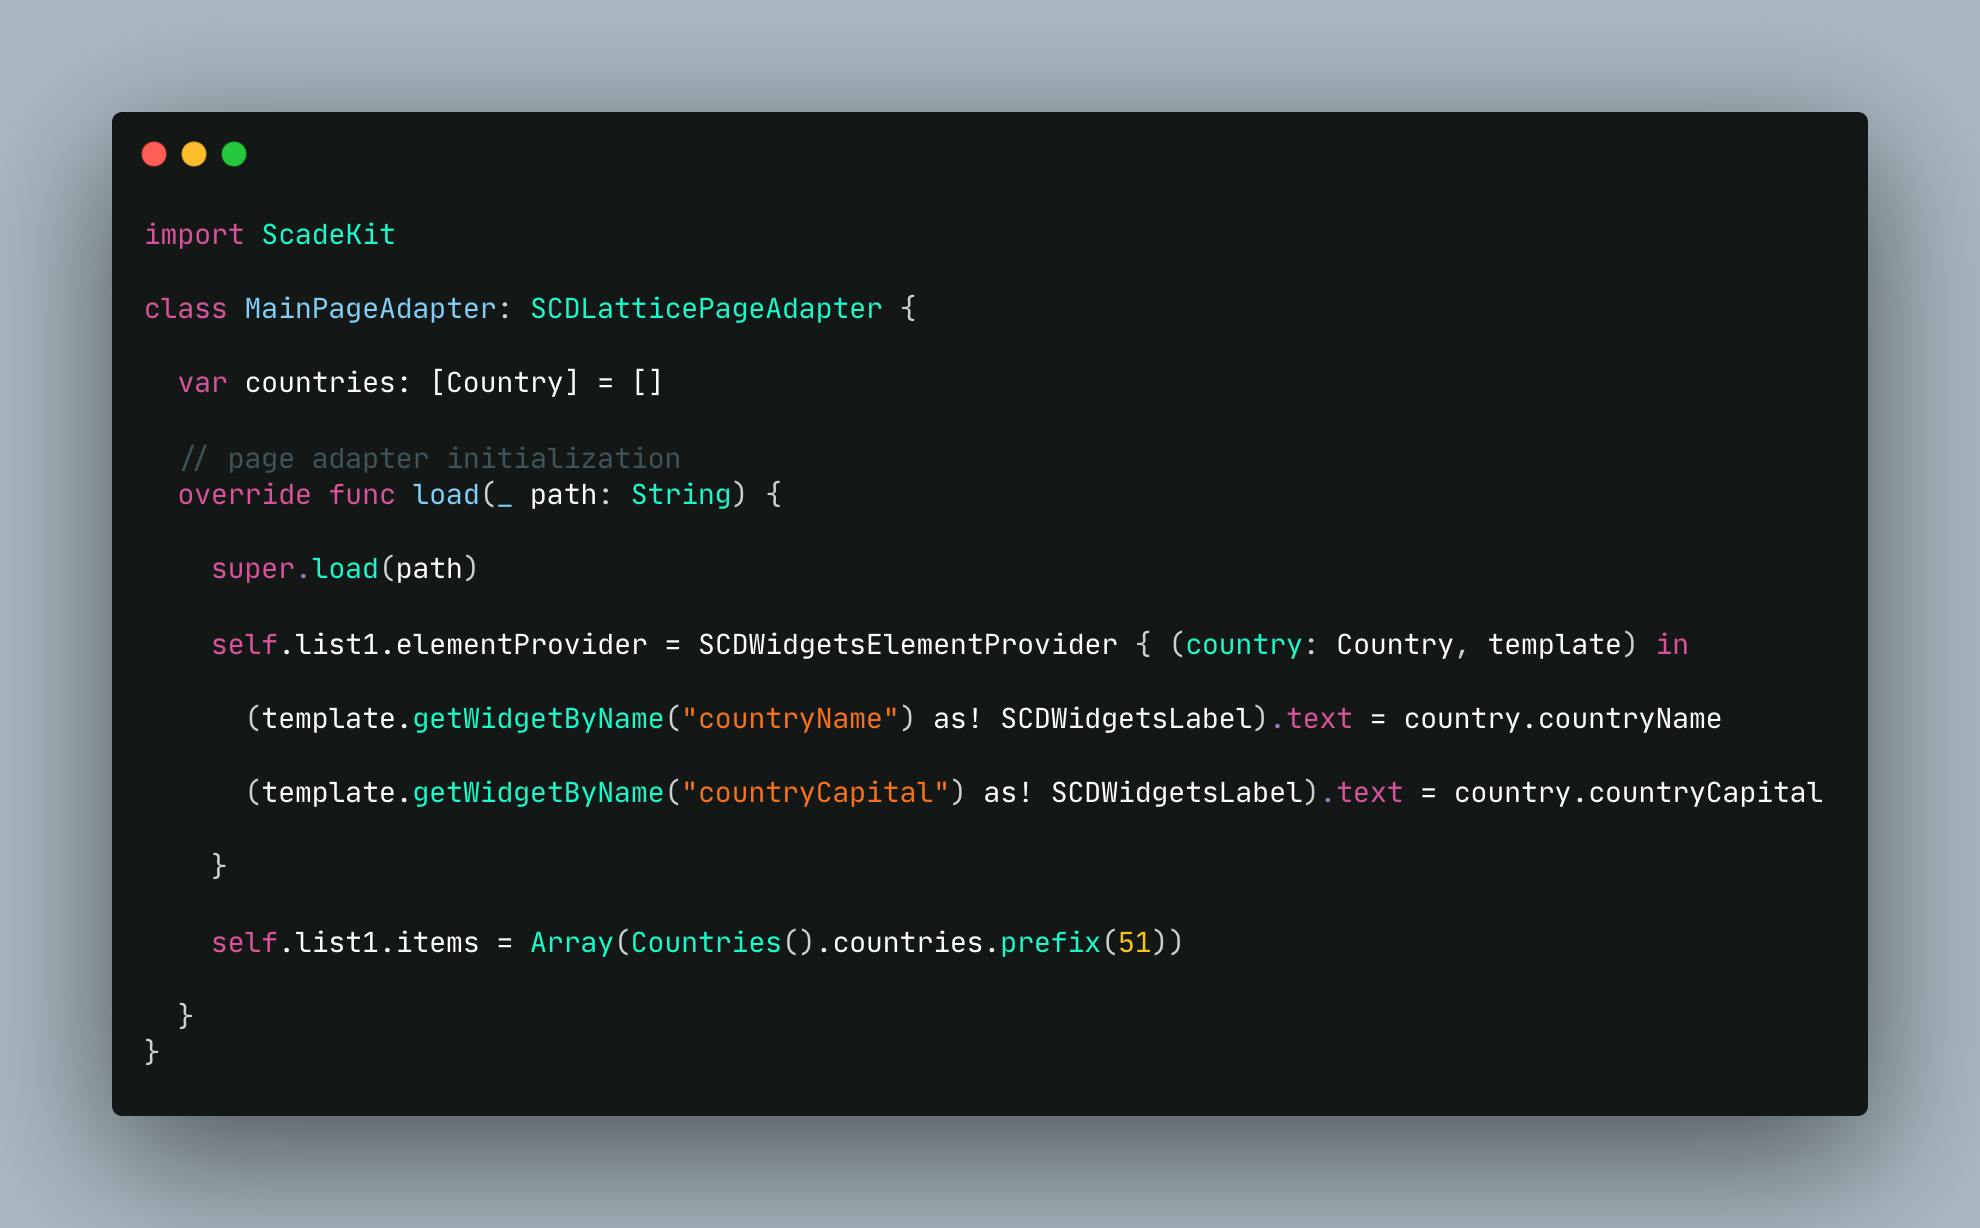
The next task is to link the view to the model using the SCDWidgetsElementProvider class. How will this be achieved? Set an instance of SCDWidgetsElementProvider with .elementProvider and add the logic that links the data to the List element's visual controls. After that, set the Items property to define the data source.
See an example below:
Output on iOS:
Output on Android:
Additional Features
Using event handler to activate row click
You may use SCDWidgetsItemSelectedEventHandler to make an item clickable where it's needed in your SCADE app. This event handler is added to the .onItemSelected handler.
See an example below:
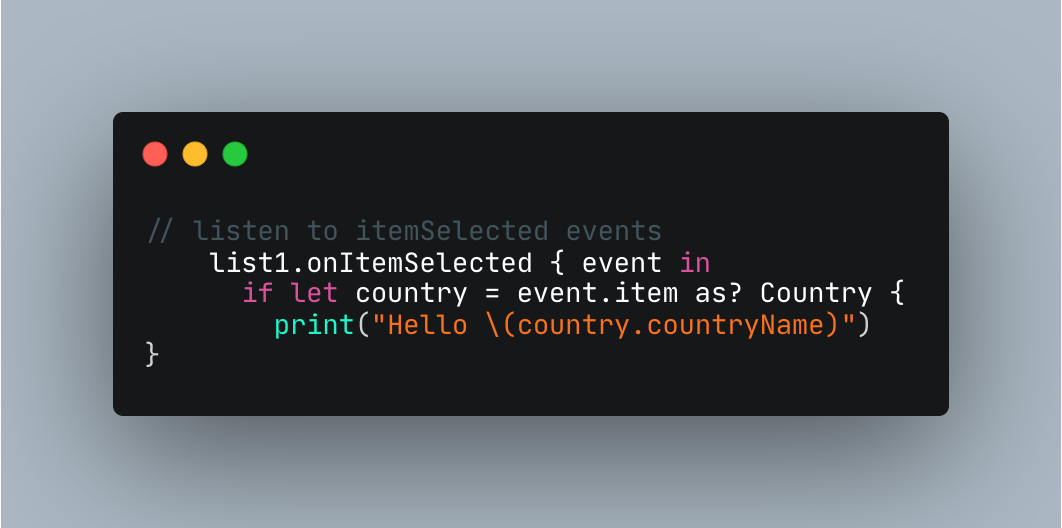
The preceding code snippet will print to the terminal -Hello and the name of the country- that has its row clicked by the user.
Adding clicked animation effect on List element
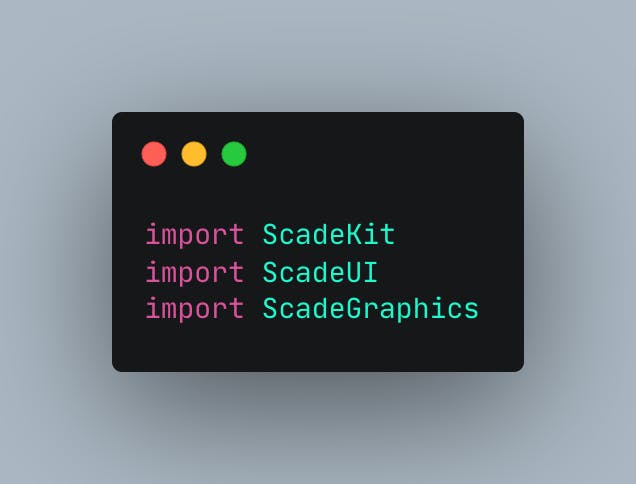
One of the most important things to do before using this awesome feature is to import ScadeUI and ScadeGraphics in addition to ScadeKit, which you initially already have imported into your project.
See an example below:
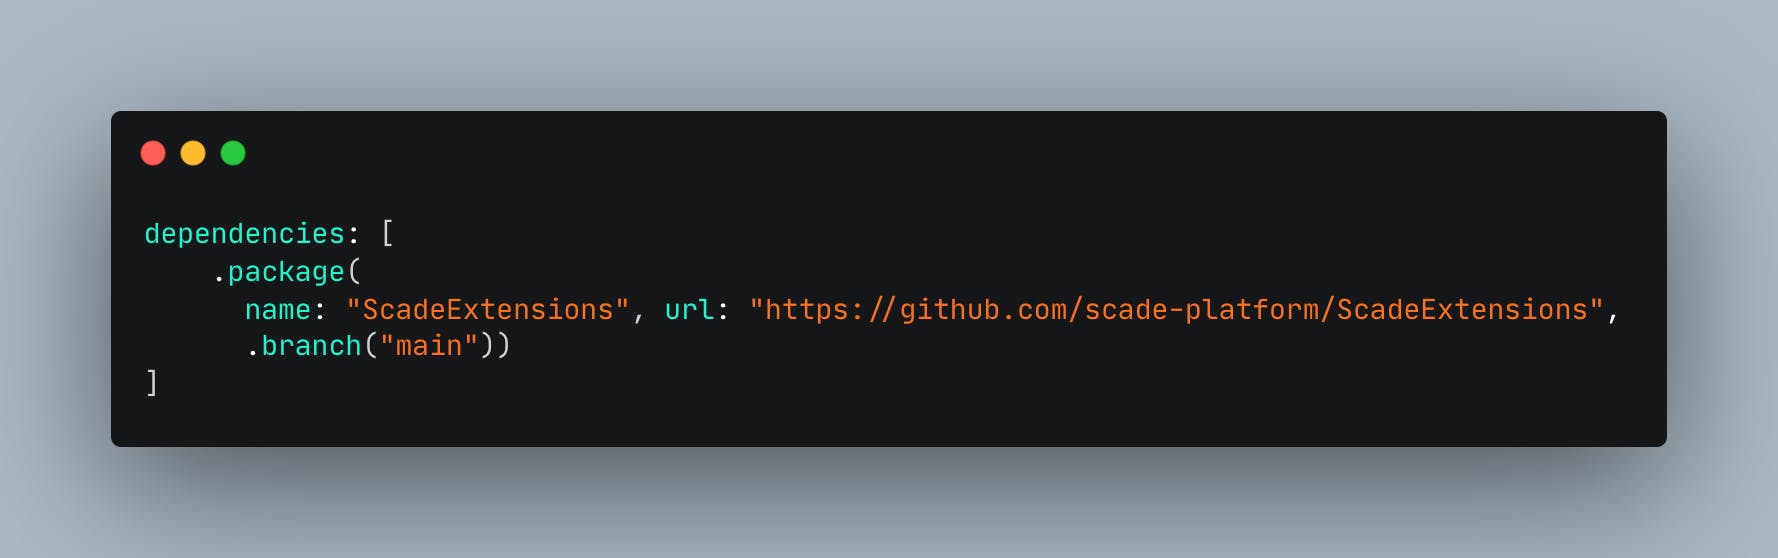
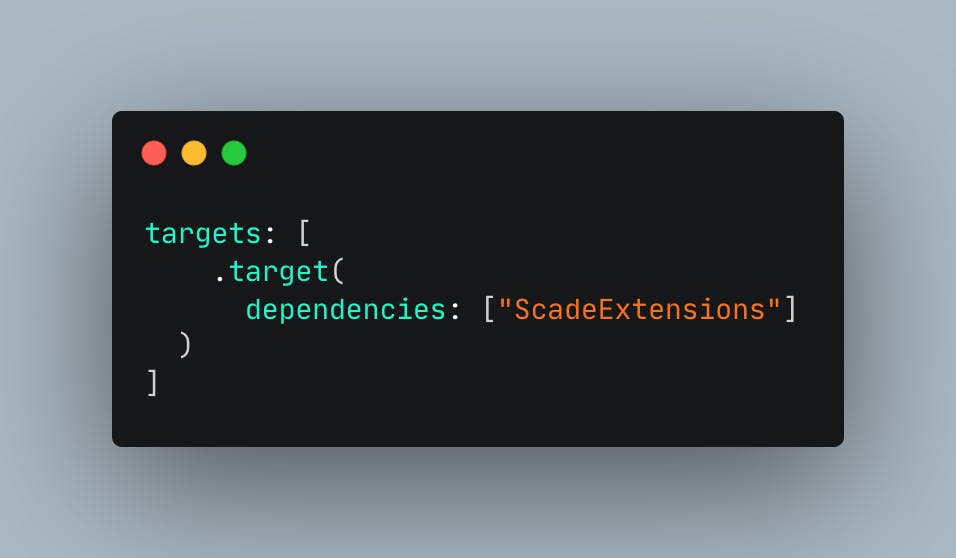
After that, you'll need to open the Package.swift file, under dependencies, add the ScadeExtensions repo dependency to your project. This is required to use ScadeUI and ScadeGraphics effectively.
Check the code snippets below to see how to add the dependency:
Having correctly followed the above instructions, the next step is to make sure your app's List element's background is set to Fill color. You can't leave or set the background to "None" since there would be no visual component to set the background to.
See an example below:
Finally, as we have done in this tutorial, you may choose to add another onItemSelected handler or go with just one item selected handler to access the List's List element SCDWidgetsListElement and set the animation effect using the event's element attribute.
See an example below:
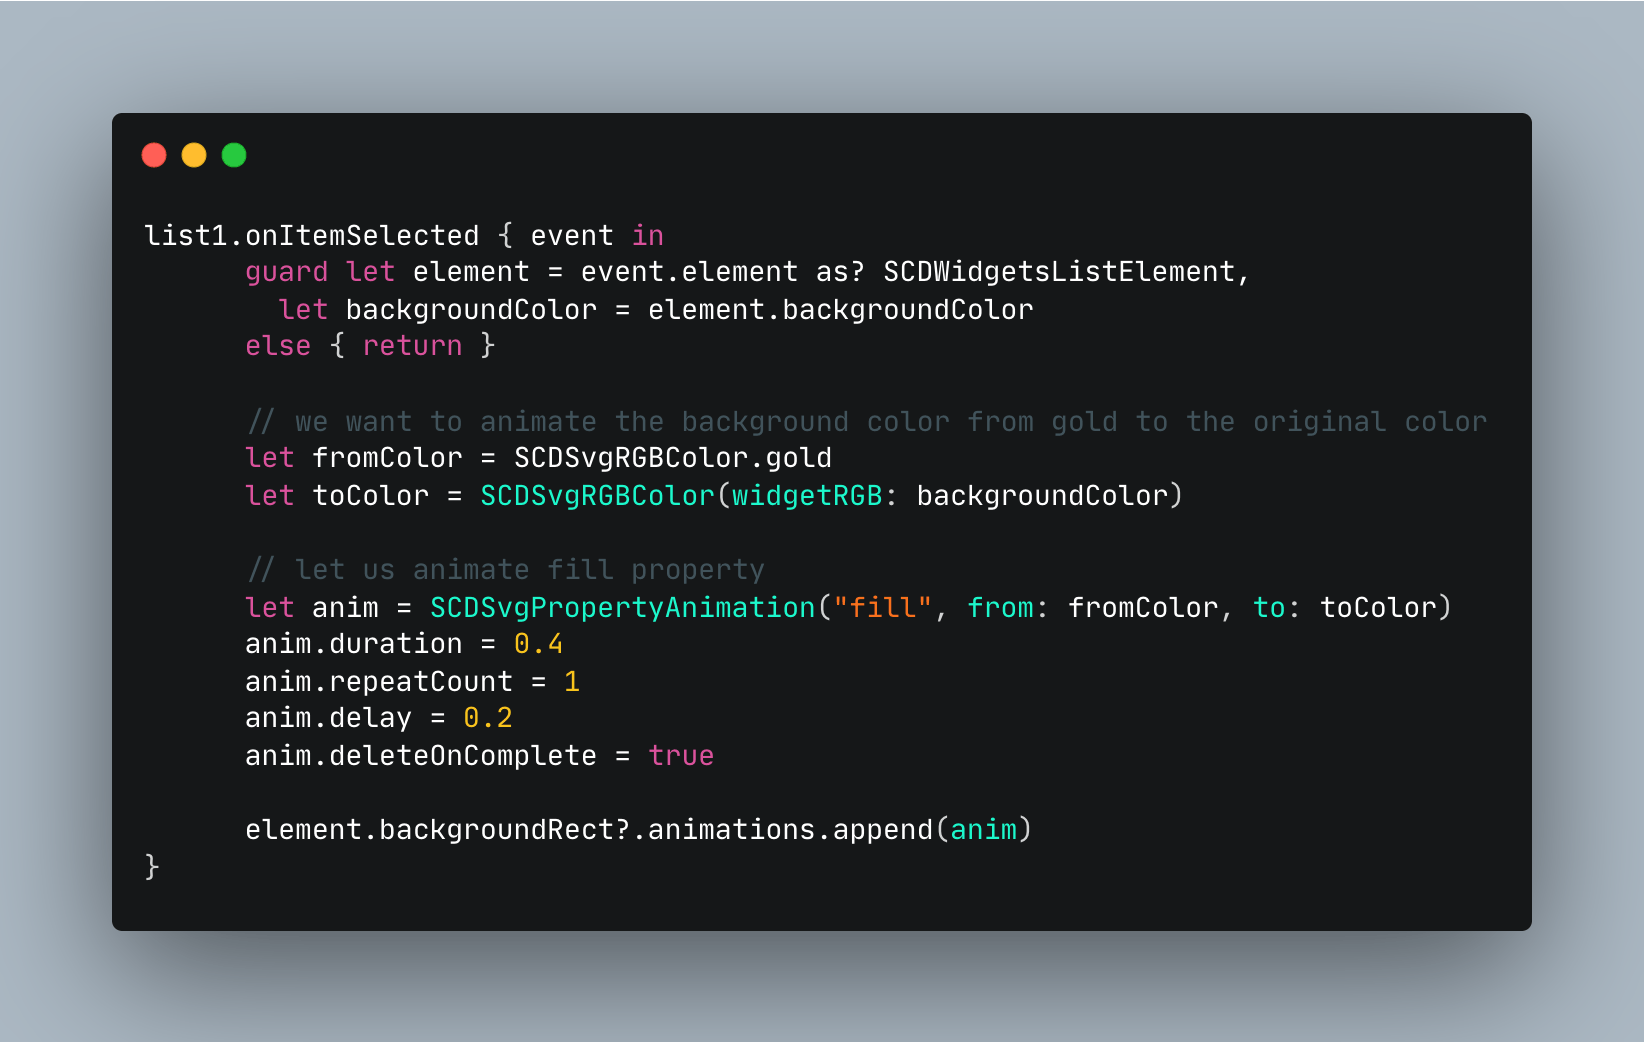
We were able to apply the animation effect to the background of the List element of our SCADE tutorial project using the aforementioned code snippet. To animate the fill property, we chose gold as the initial color and the original color as the finish color, as you can see in the output below (to fill the background).
Output on iOS:
Output on Android:
Conclusion
In this SCADE Tutorial, we learned how to create and use a List Control in the SCADE Application. The source code for this tutorial is available on GitHub.