How to Display Images in Swift Cross-Platform Native Apps in SCADE


The image control, just like every other control in SCADE, acts as a wrapper around native controls, exposing a fraction of its functionality to users. We'll learn how to display images from within the app or dynamically downloaded from the internet in this tutorial. We can't envision an app these days without images. Although the images are stored in the assets folder, they are loaded during runtime. SCADE currently only supports great image formats like PNG, SVG, and JPG.
Key Properties Needed for Implementation:
- content: it stores the images that you would like to display. Not to forget, it has a
Datatype. - URL: relative path to the image's source. When initializing this attribute, ensure you have its path accurately sorted out. That’s, the image name comes last after you might have spelled out the folder you have the images stored in. See an example:
Assets/shoe1.png. - isContentPriority: this type-Bool property specifies which incoming source we use in rendering the image. It’s set to
falseif theURLfield is used in getting information to display the image and set totrueif the content field is used instead.
There are three (3) possible ways you can use to add images to your Android and iOS apps in SCADE:
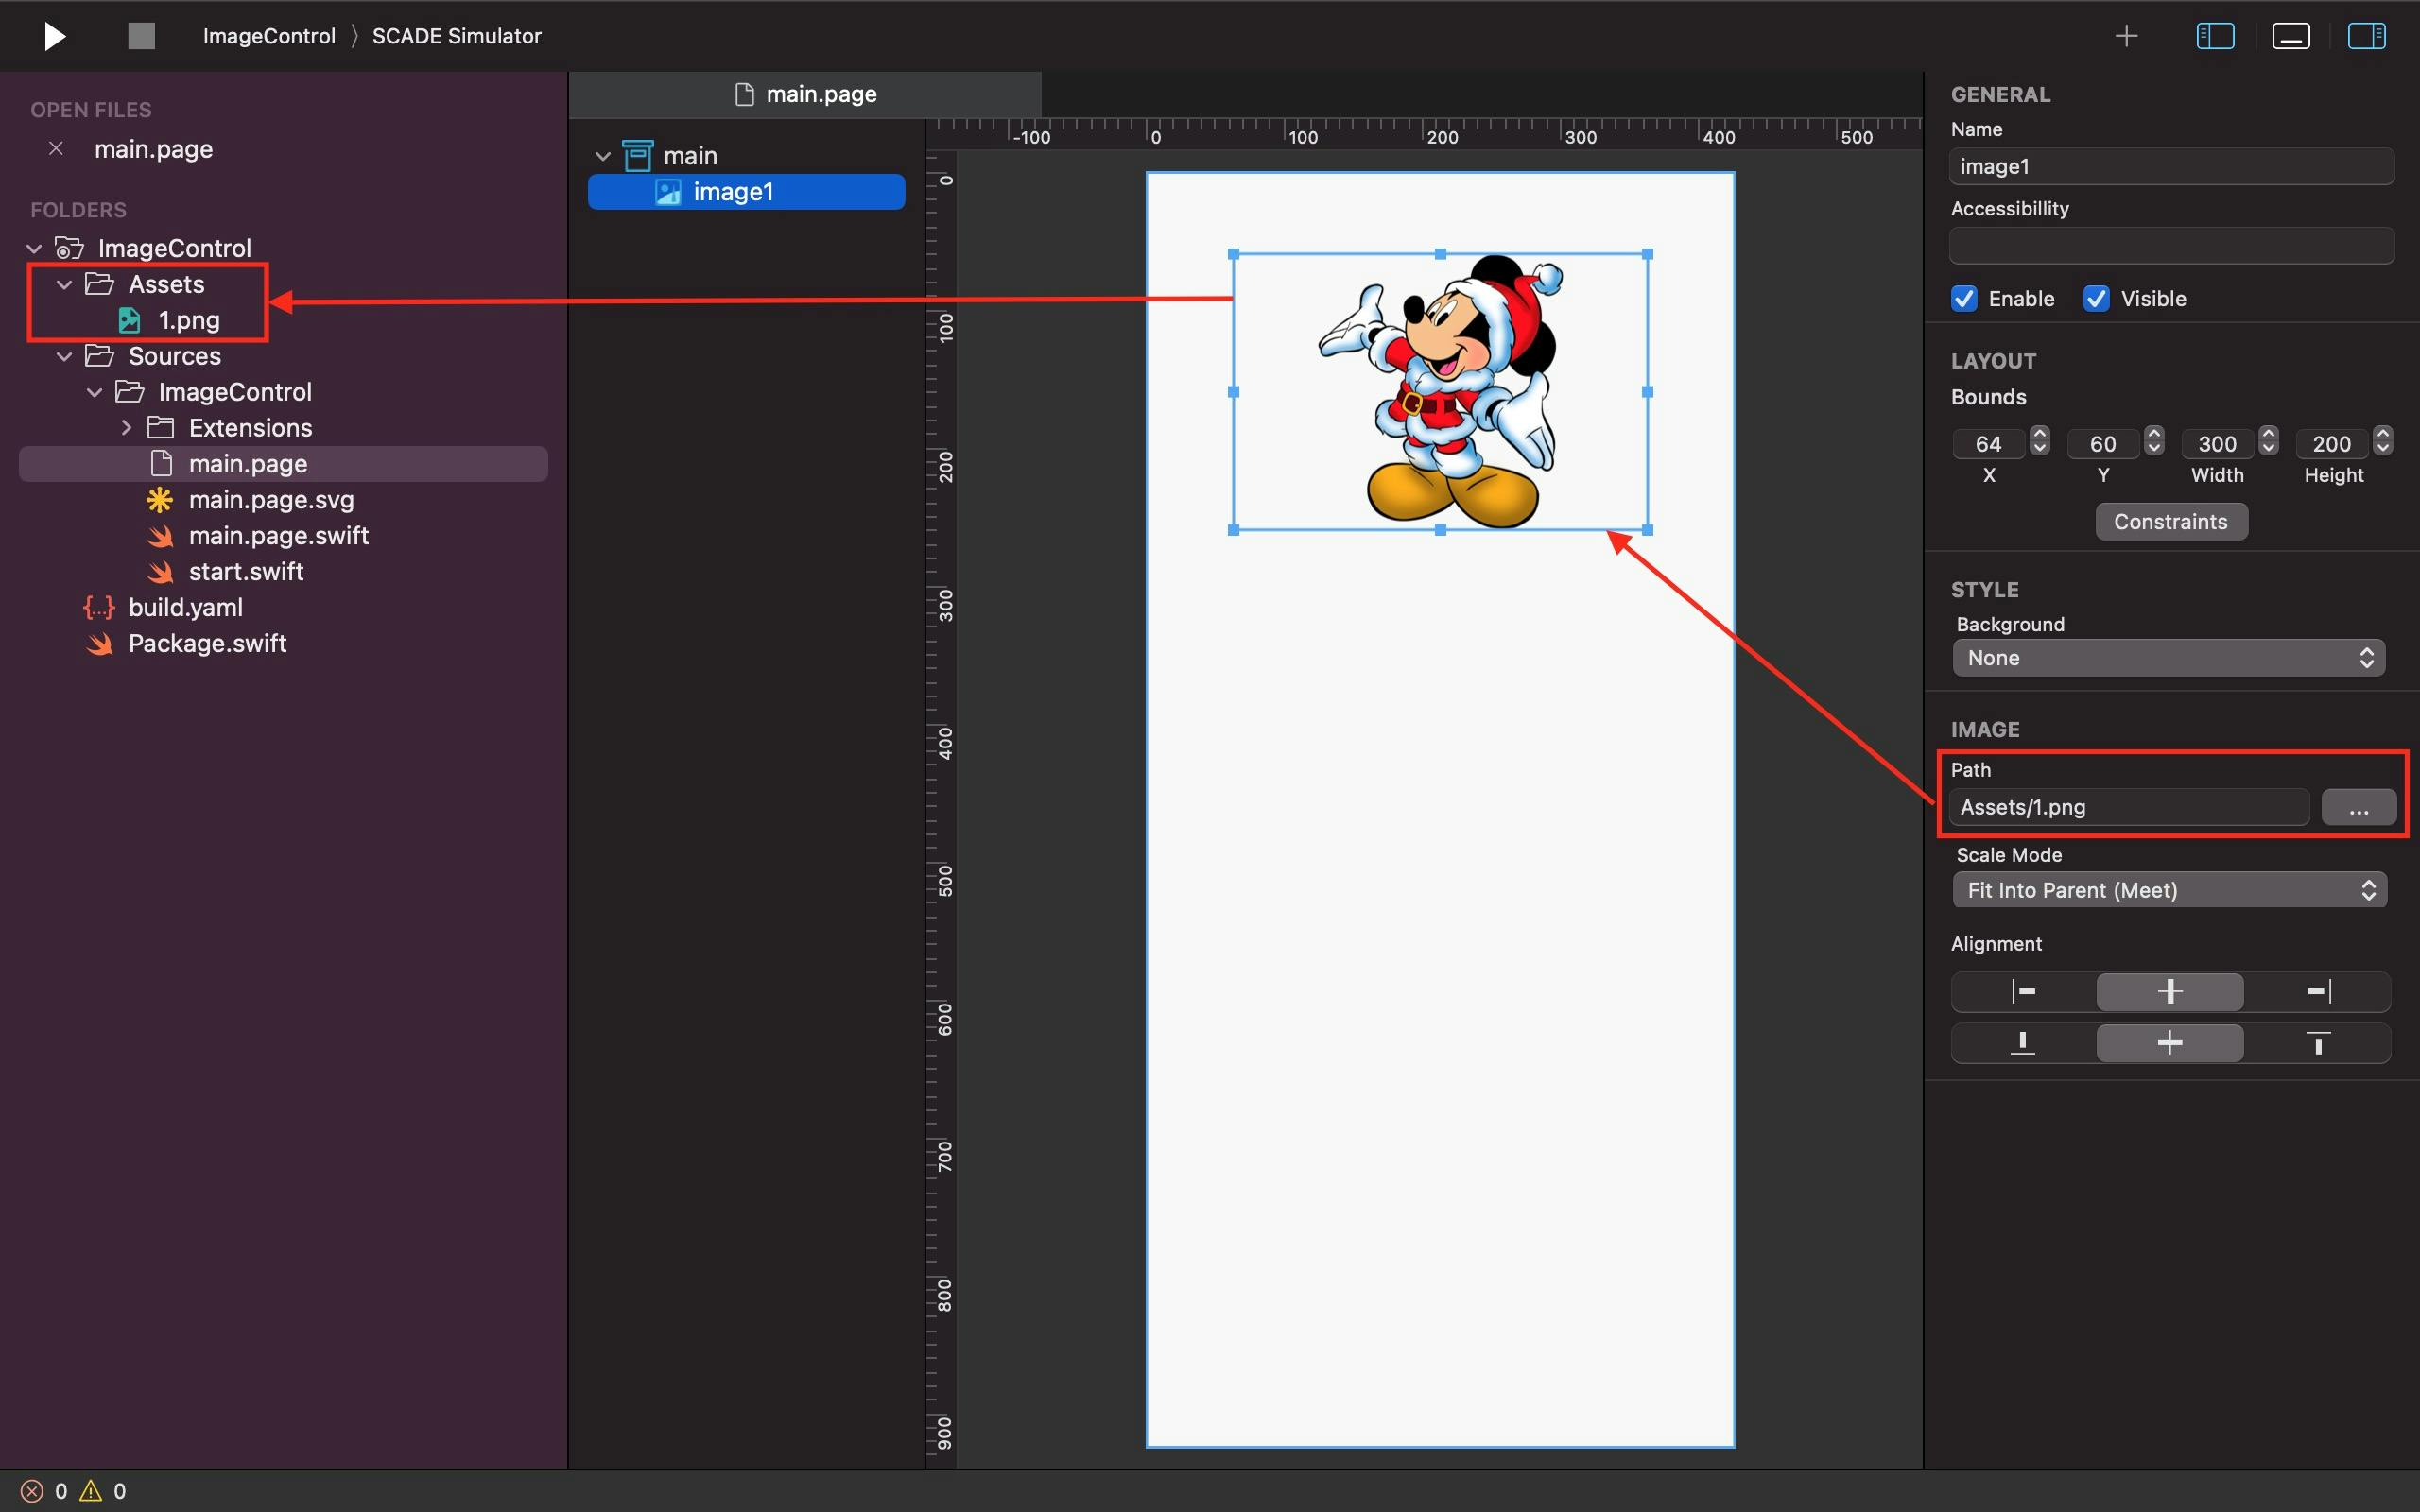
Method One: Static Image Referencing
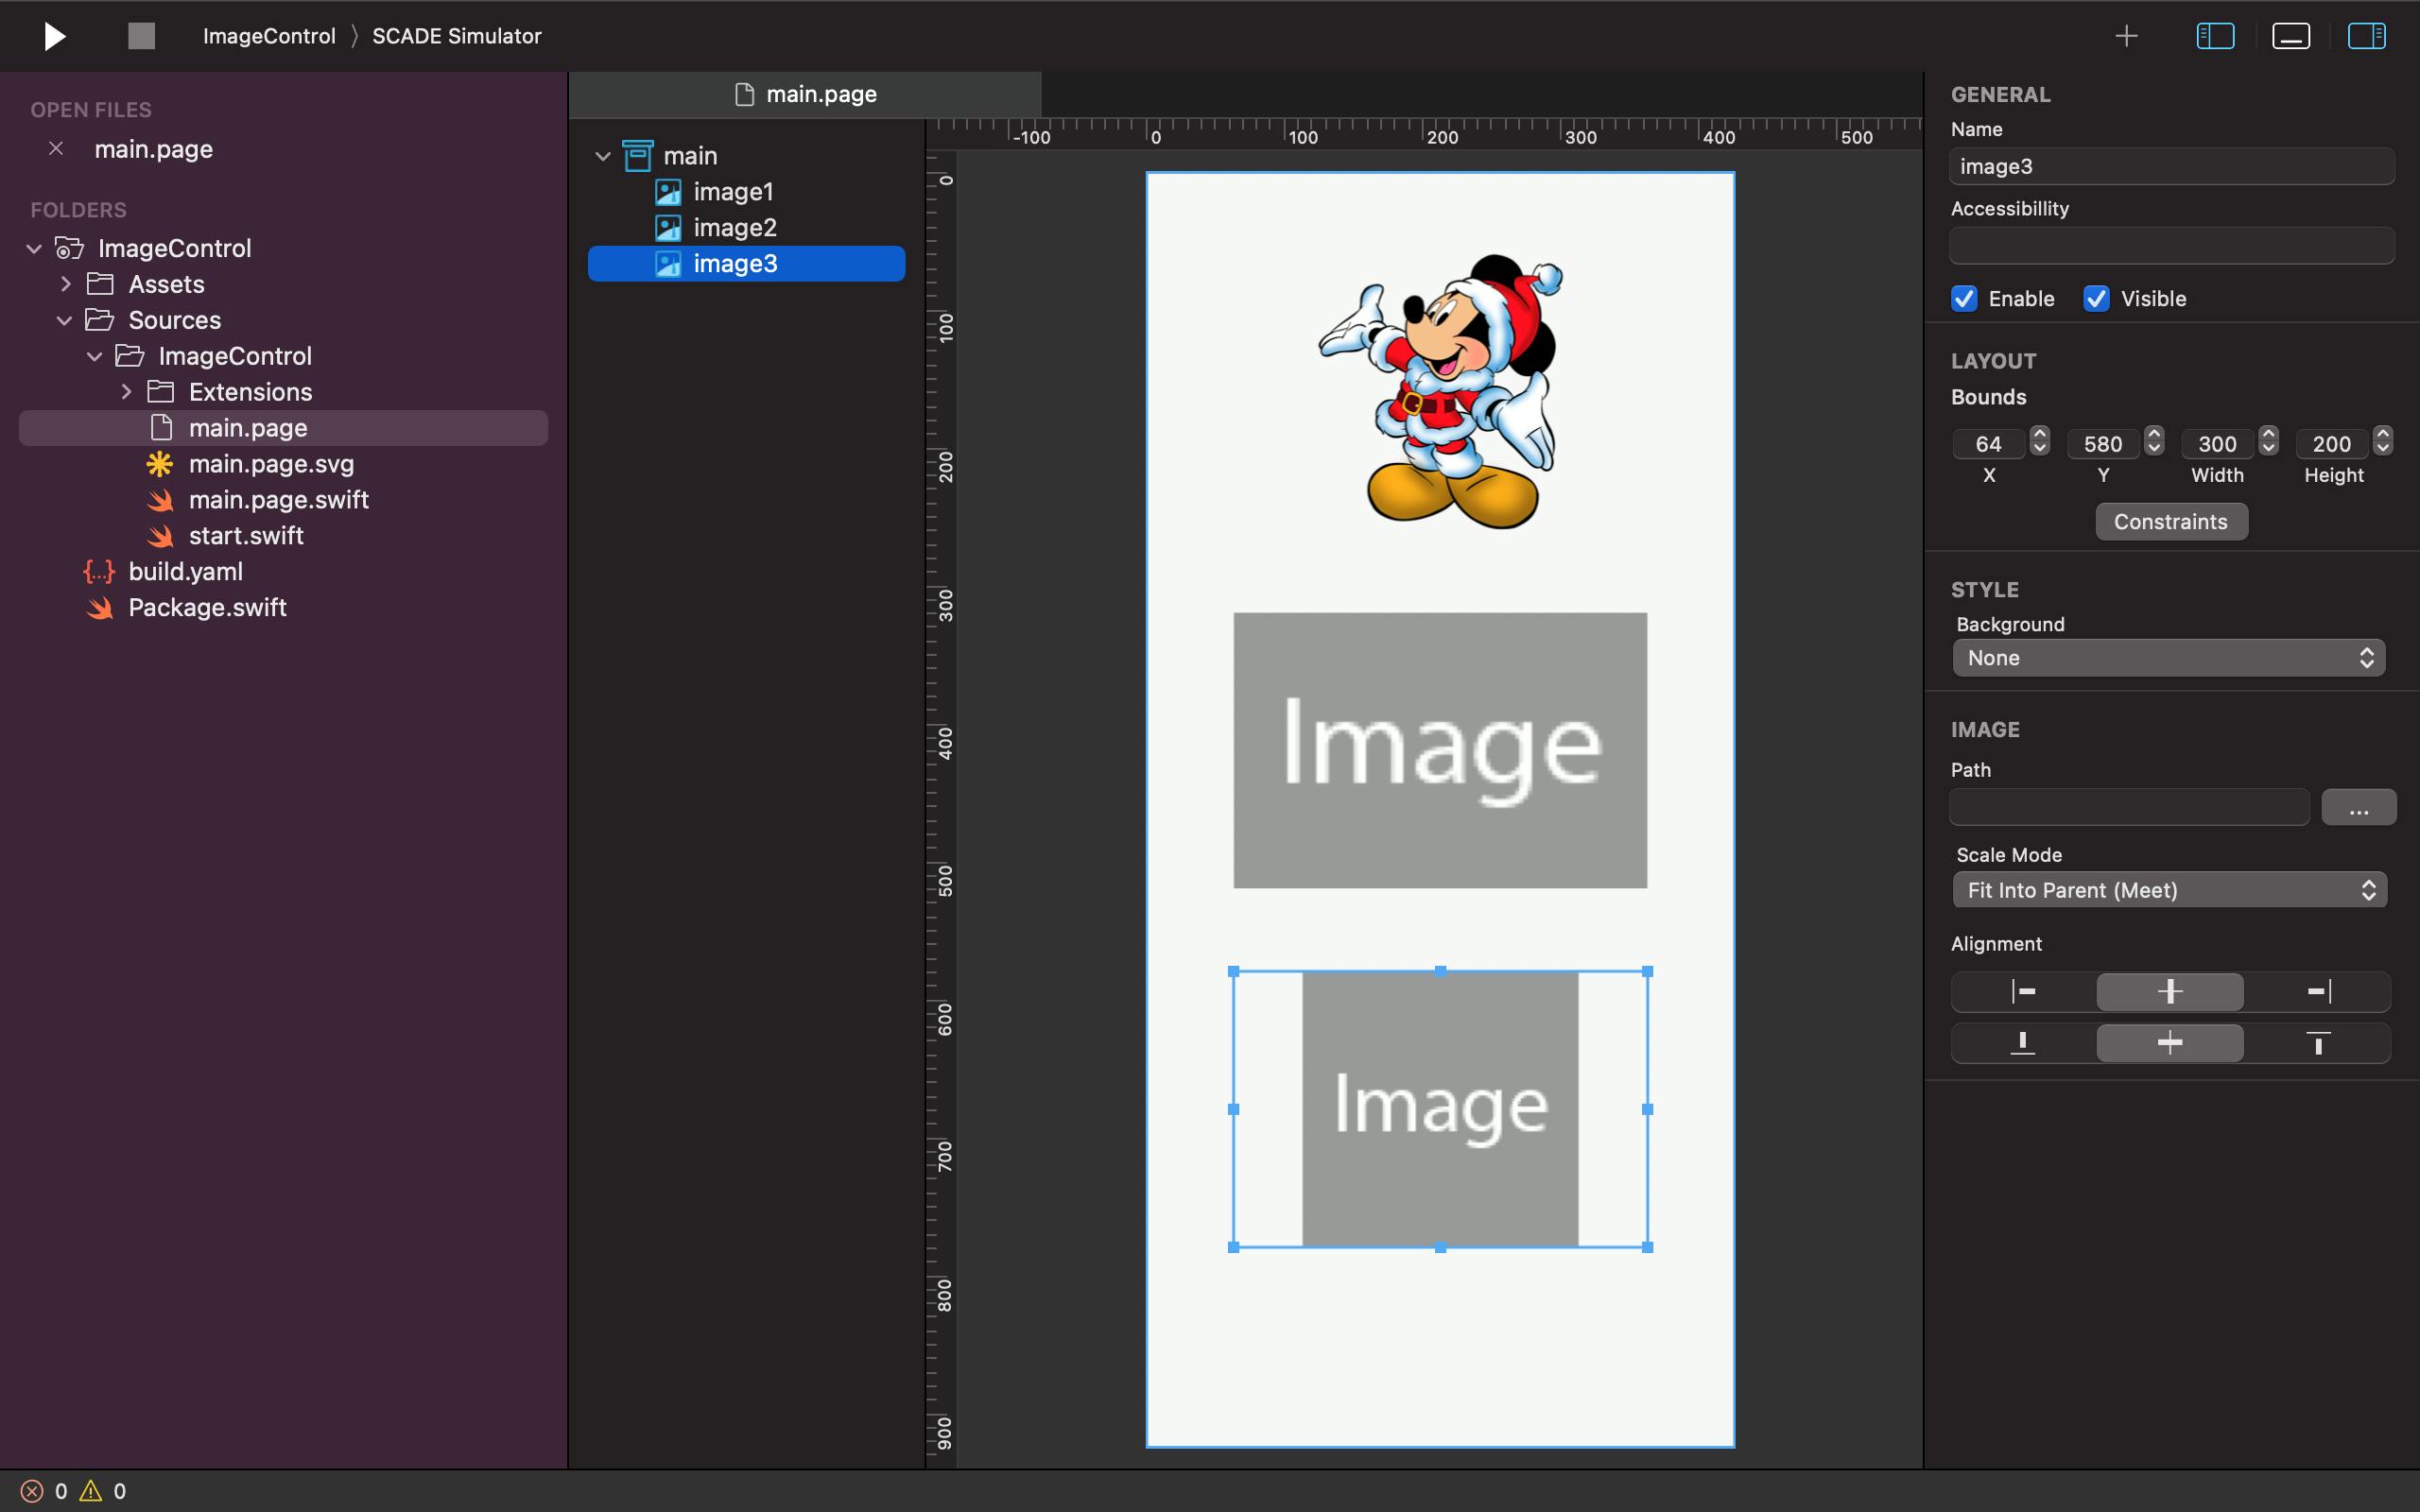
You can simply achieve this by using the Widget Palette to drag and drop the image control to any .page file of choice (for example main.page). Once this is done, make use of the Path feature, under the Image attribute, found on the right side of your page to find and select the image you want to display in your app from the folder that contains it. Interestingly, using this method, your images get stored automatically in your Assets folder.
See the result below:
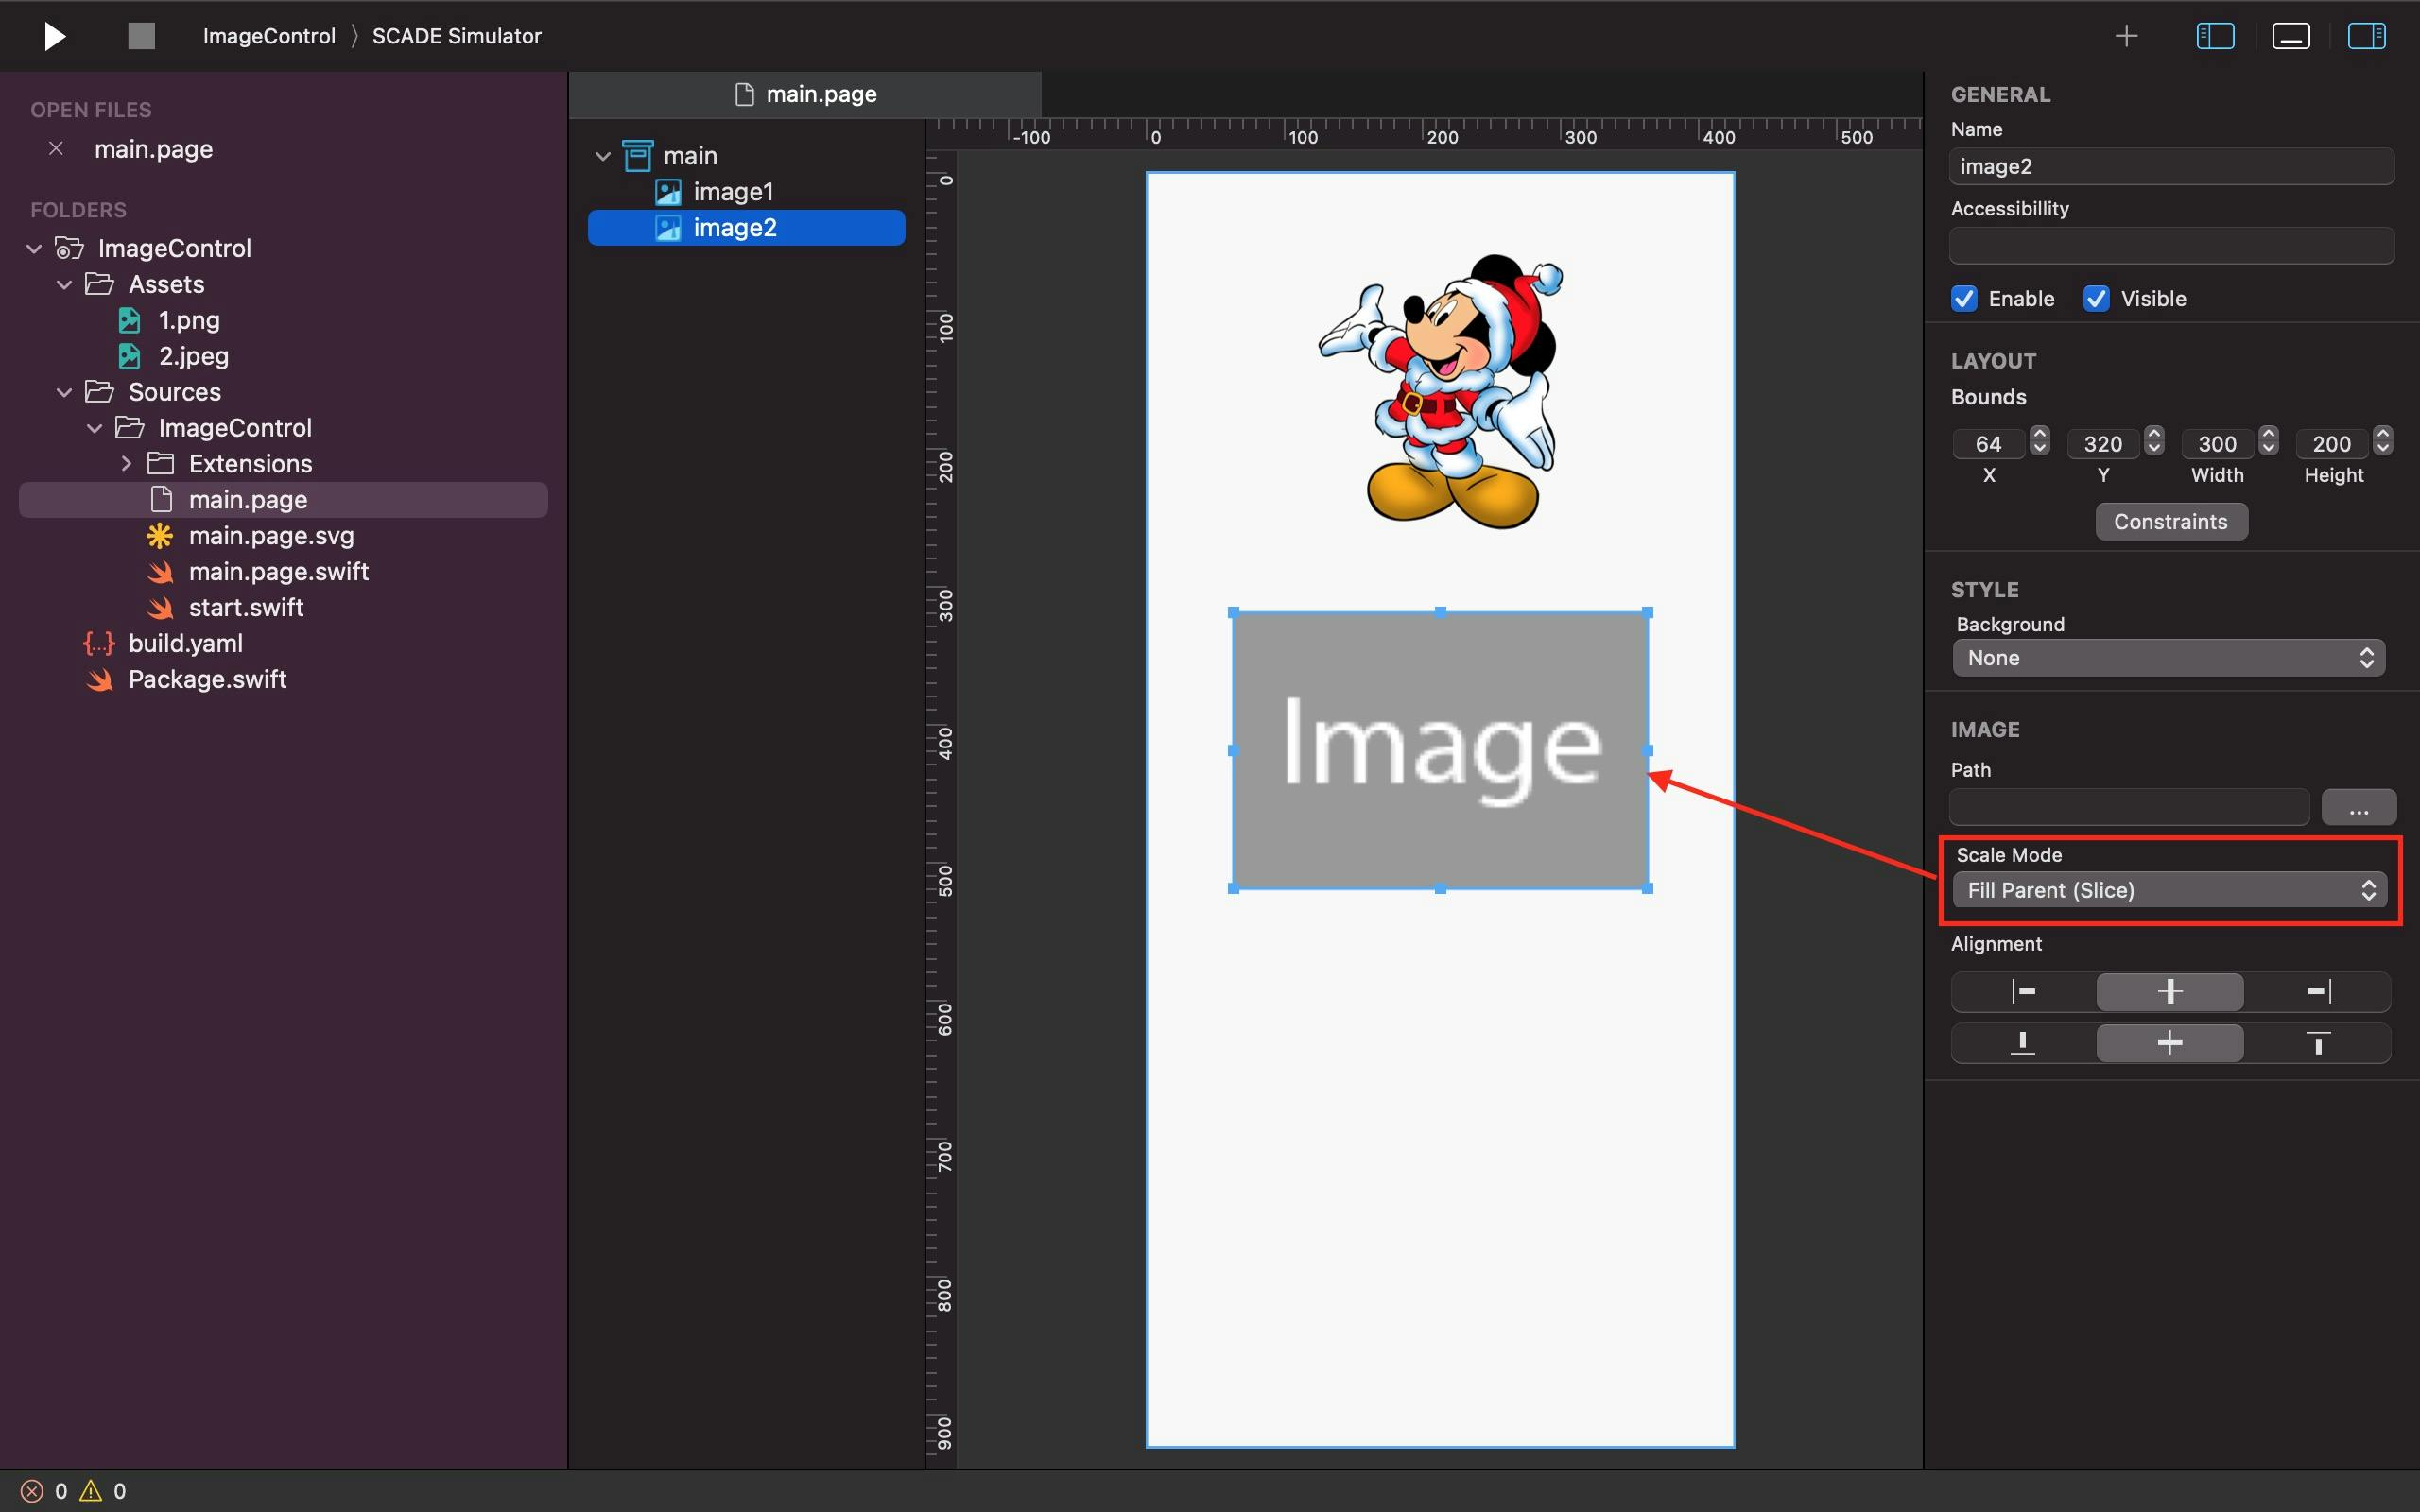
Method Two: Adding Images Using Code
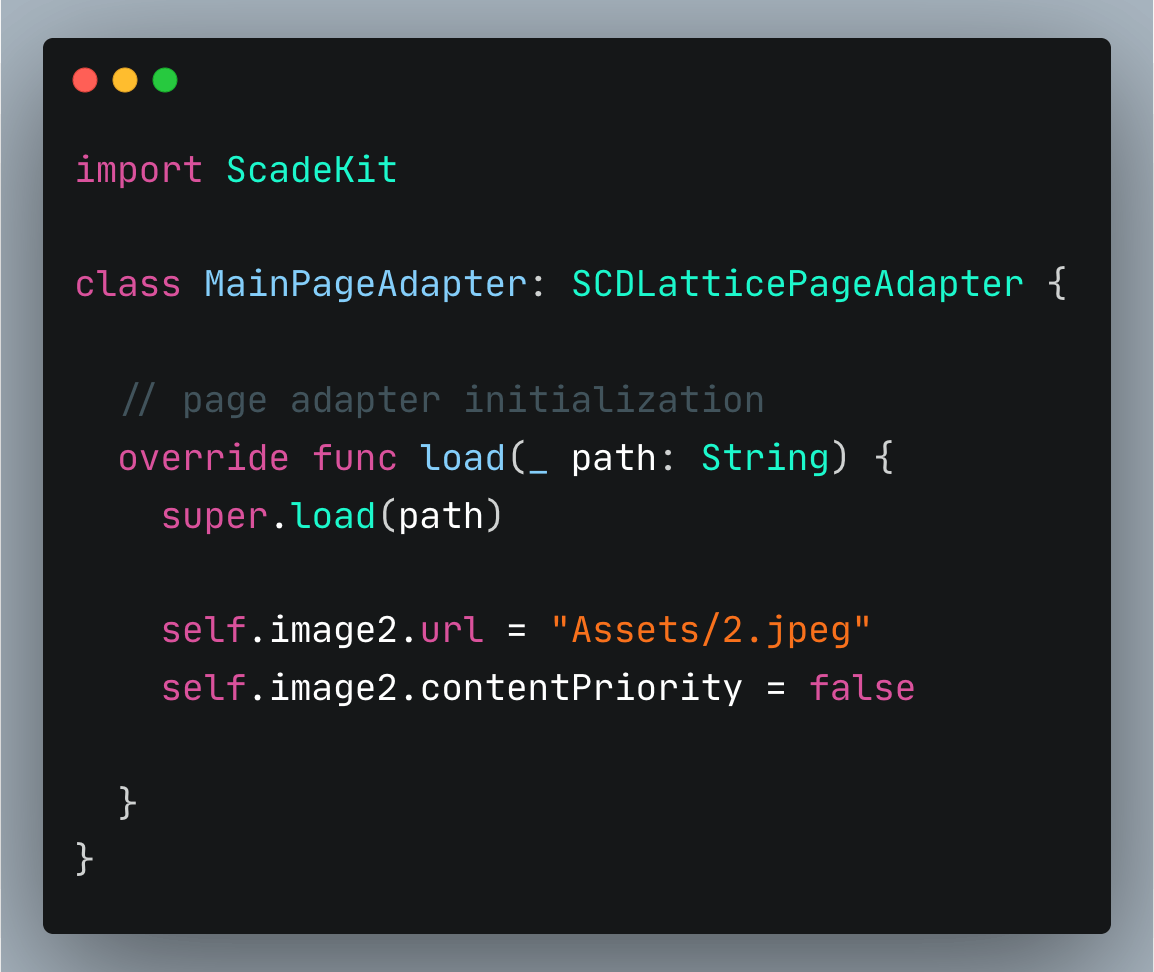
Two things you must never forget to do if you want to go with this approach:
- Ensure that the path in the
URLfield is valid. - Initialize the
contentPriorityattribute value of your images to befalse.
Remember, unlike in the above method, you will need to add your images manually to the Assets folder here to complete the phase of displaying your images in your desired area. Additionally, you may also use the Scale Mode built within the Image Control to make adjustments and ensure that your images are properly sized for your app.
See an example below:
See code snippet below:
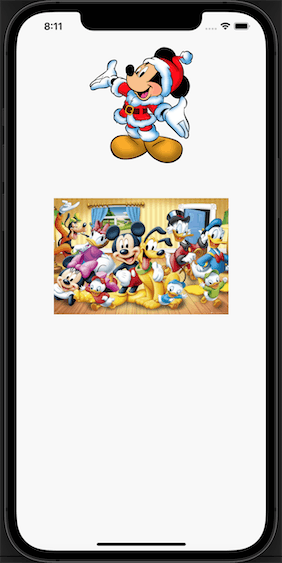
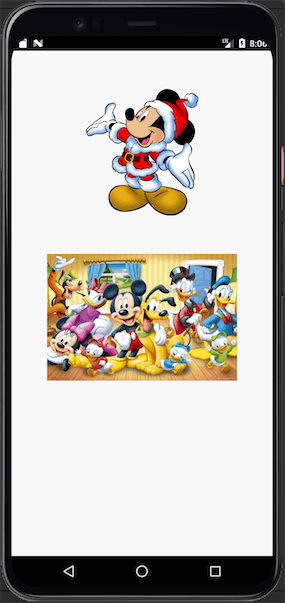
Output on iOS:
Output on Android:
Method Three: Using raw data from the Internet to display images
Most apps require data to be fetched from a remote server, and downloading images is a frequent activity. This approach makes things convenient for you in the sense that you don’t need to initially store your images on your app before you can render them - all you need to do is to get the image addresses of the images of your choice from the internet or any other source.
The main goal of this method is to teach you how to download images using swift. First, add a third image control with the name image3 underneath image2 on the main page. Make use of the Constraints property to control its size and position just like you have done in the other two methods above.
See an example below:
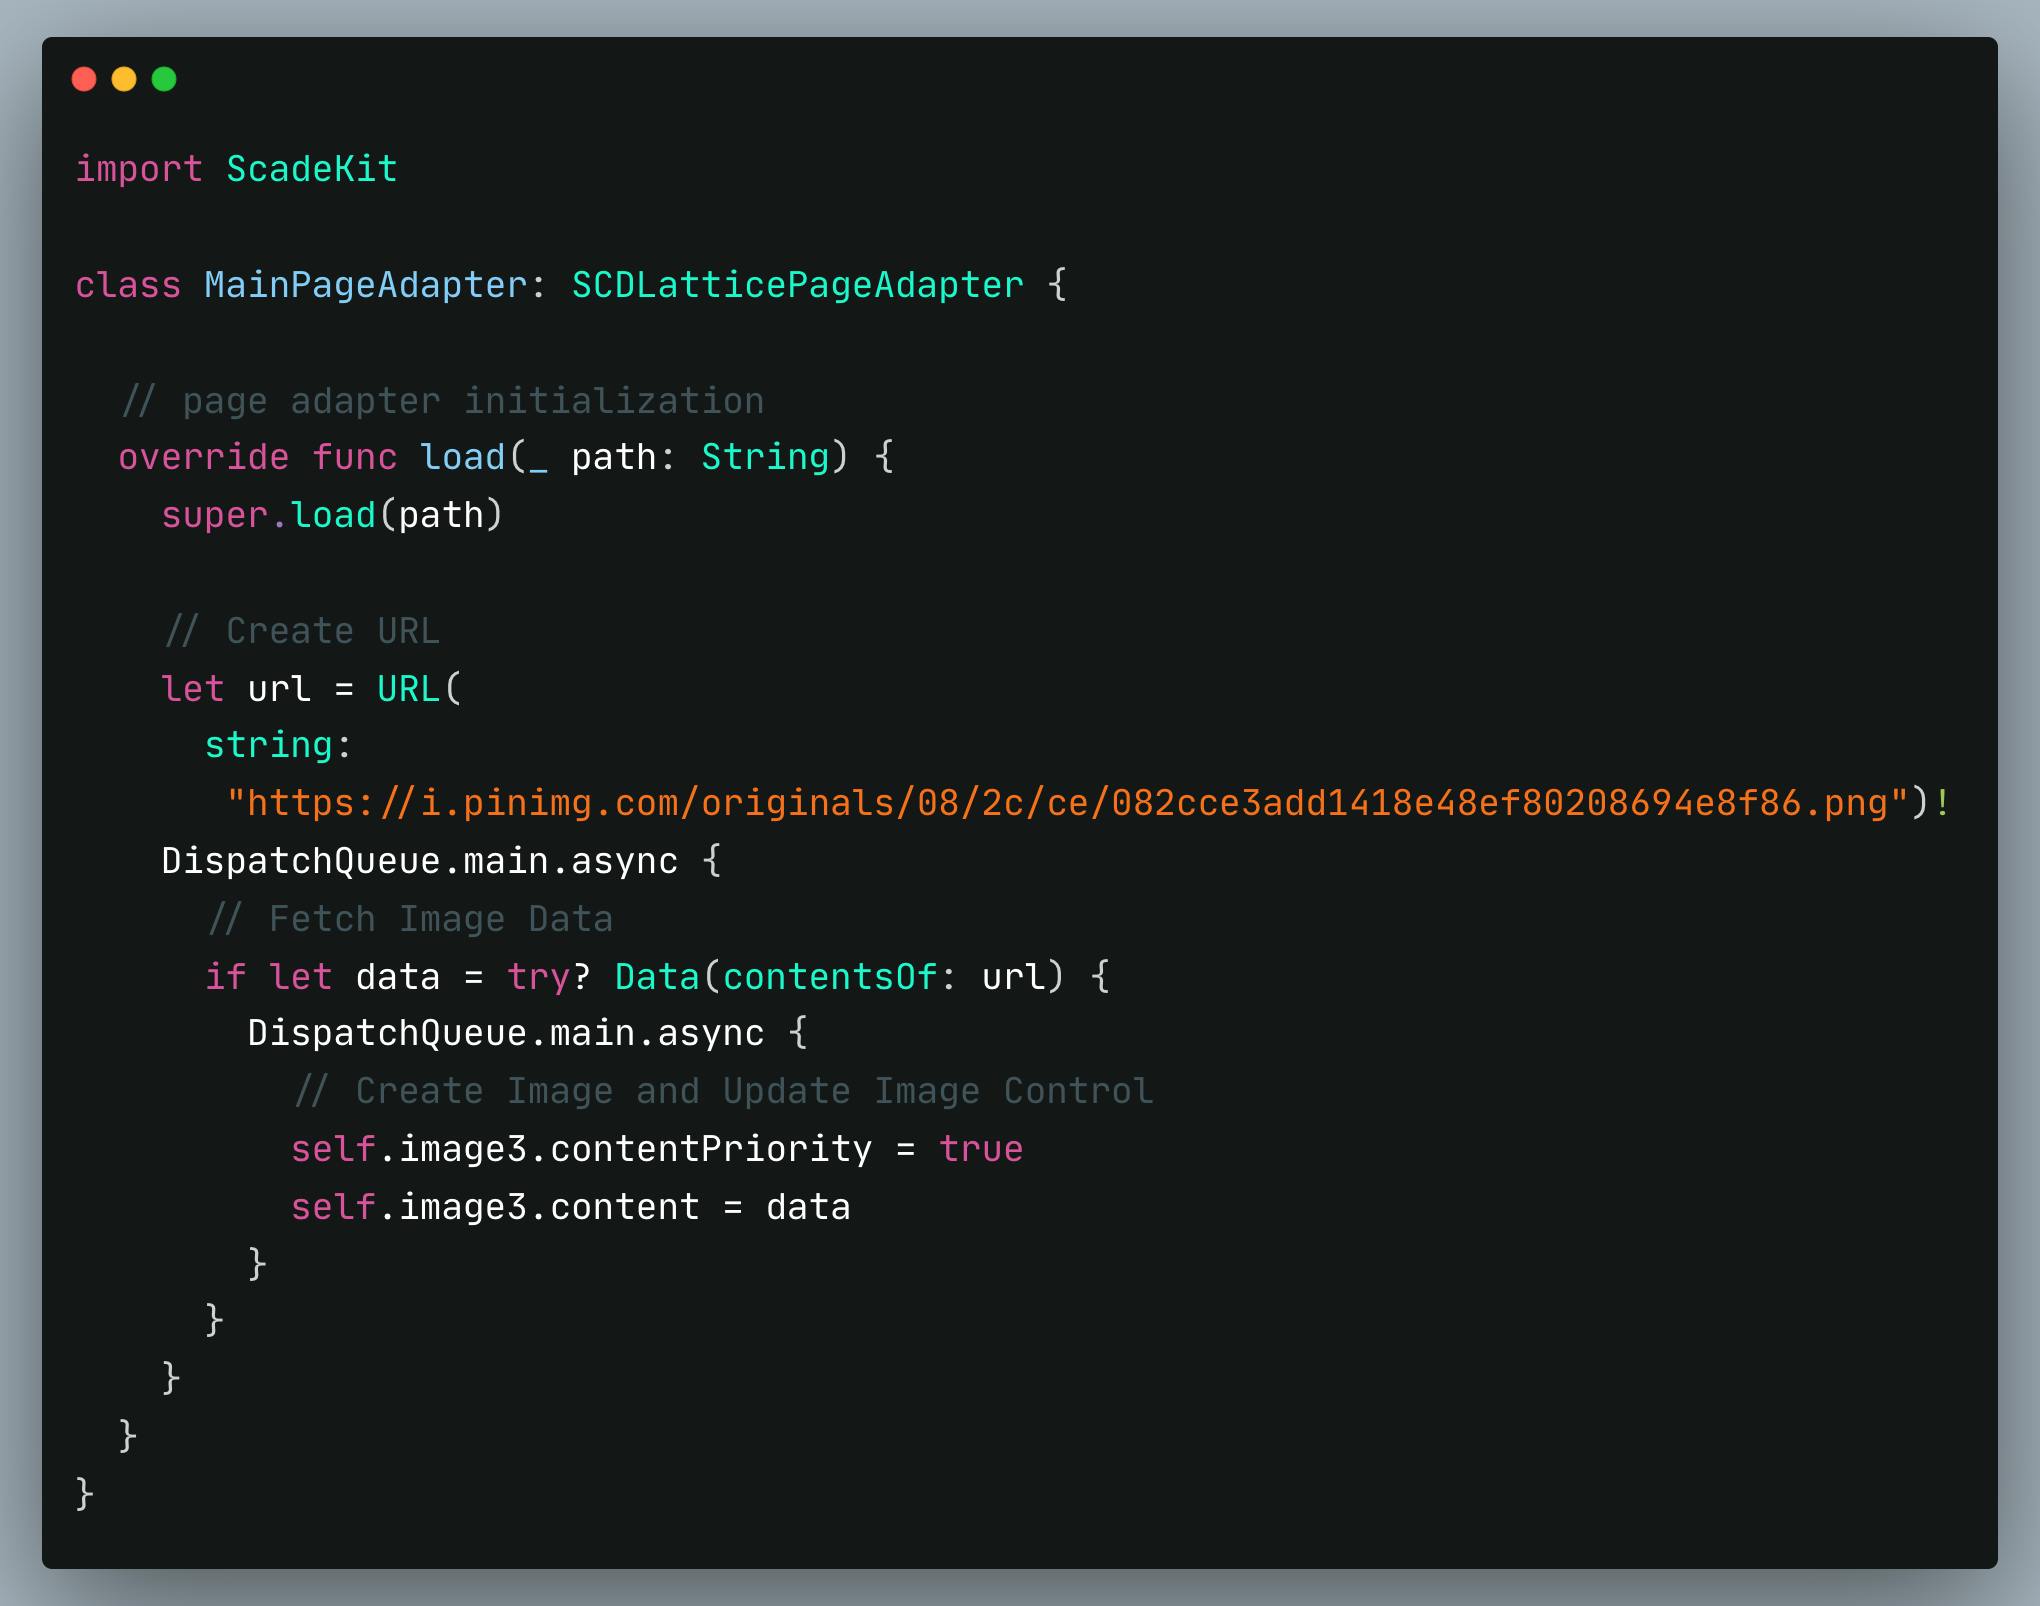
This method is primarily focused on updating the Image Control on the main thread using Grand Central Dispatch. Creating a URL object that points to the remote image is the first thing we do. The next step is to invoke the init(contentsOf:) initializer on the Data object. We utilize the try? keyword and optional binding to safely access the initialization's result because the initializer is throwing. Lastly, in the body of the if statement, we put the raw image data received from the network call in the content field and also set the value of the contentPriority property to be true.
See code snippet below:
Output on iOS:
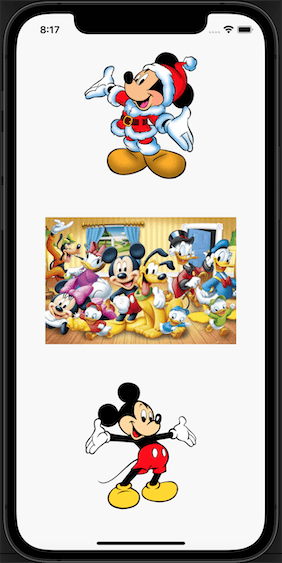
Output on Android:
Conclusion
This concludes the tutorial on how to display images in SCADE using Swift for Android and iOS, including all steps and examples. Feel free to use any of the above methods individually or collectively in your next SCADE project - everything depends on how you want your app structuring to be. The source code for this tutorial is available on GitHub.